
The track layout at Bickerton Station has always been cramped. It was the first station I constructed on the railway from the days when I thought the Peckforton Light Railway would be a far more modest undertaking. Basically, Bickerton Station was squeezed on to two 3'x2' concrete paving slabs supported on brick pillars.
Here is what it looked like in 2008, when the railway was in its infancy

As you can see, the main goods siding is a bay behind the main platform and there is a short spur on the end of the loop.


Since 2008, the range and number of goods wagons on the PLR has proliferated and freight handling is probably what I enjoy most about running my railway. I have thought of various ways I might be able to add another siding or two at Bickerton but, unless I shift the location of the station then the range of possibilities has always been limited.
This shot of the station throat shows how Beeston Castle Station is situated just above Bickerton and so there is absolutely no room for expansion in this direction. The main line to Peckforton curves off to the right beside the white roofed van - and so, until now, I have always thought there was very little room in that direction also.

That was until I had a brainwave! Why not widen the station with planking and use the mainline track to Peckforton as the start of a siding?

The first task was to clear the route for the new siding which involved the removal of a tree root.

Fortunately, the tree had been removed many years ago as it had outgrown its location and so, with a bit of persuasion, it came out. The mainline track was lifted and a turnout and new track installed.

Triangular wooden brackets were cut to size and screwed into Rawlplugs inserted in holes drilled in the brick supports for the paving slabs.

I also replaced the boards linking the main station loop to the storage sidings in the lean-to as the originals (installed fourteen years ago) had rotted..

A piece of 6" x 1" pressure treated fence rail was cut to size and placed on the brackets. At the same time, some track was also cut to size and test fitted.


Satisfied with the clearances, the plank was removed and covered with roofing felt (tar paper), fixed in place with 1" clout nails.

The plank was then screwed into place on the brackets .........

...... and the track screwed down.


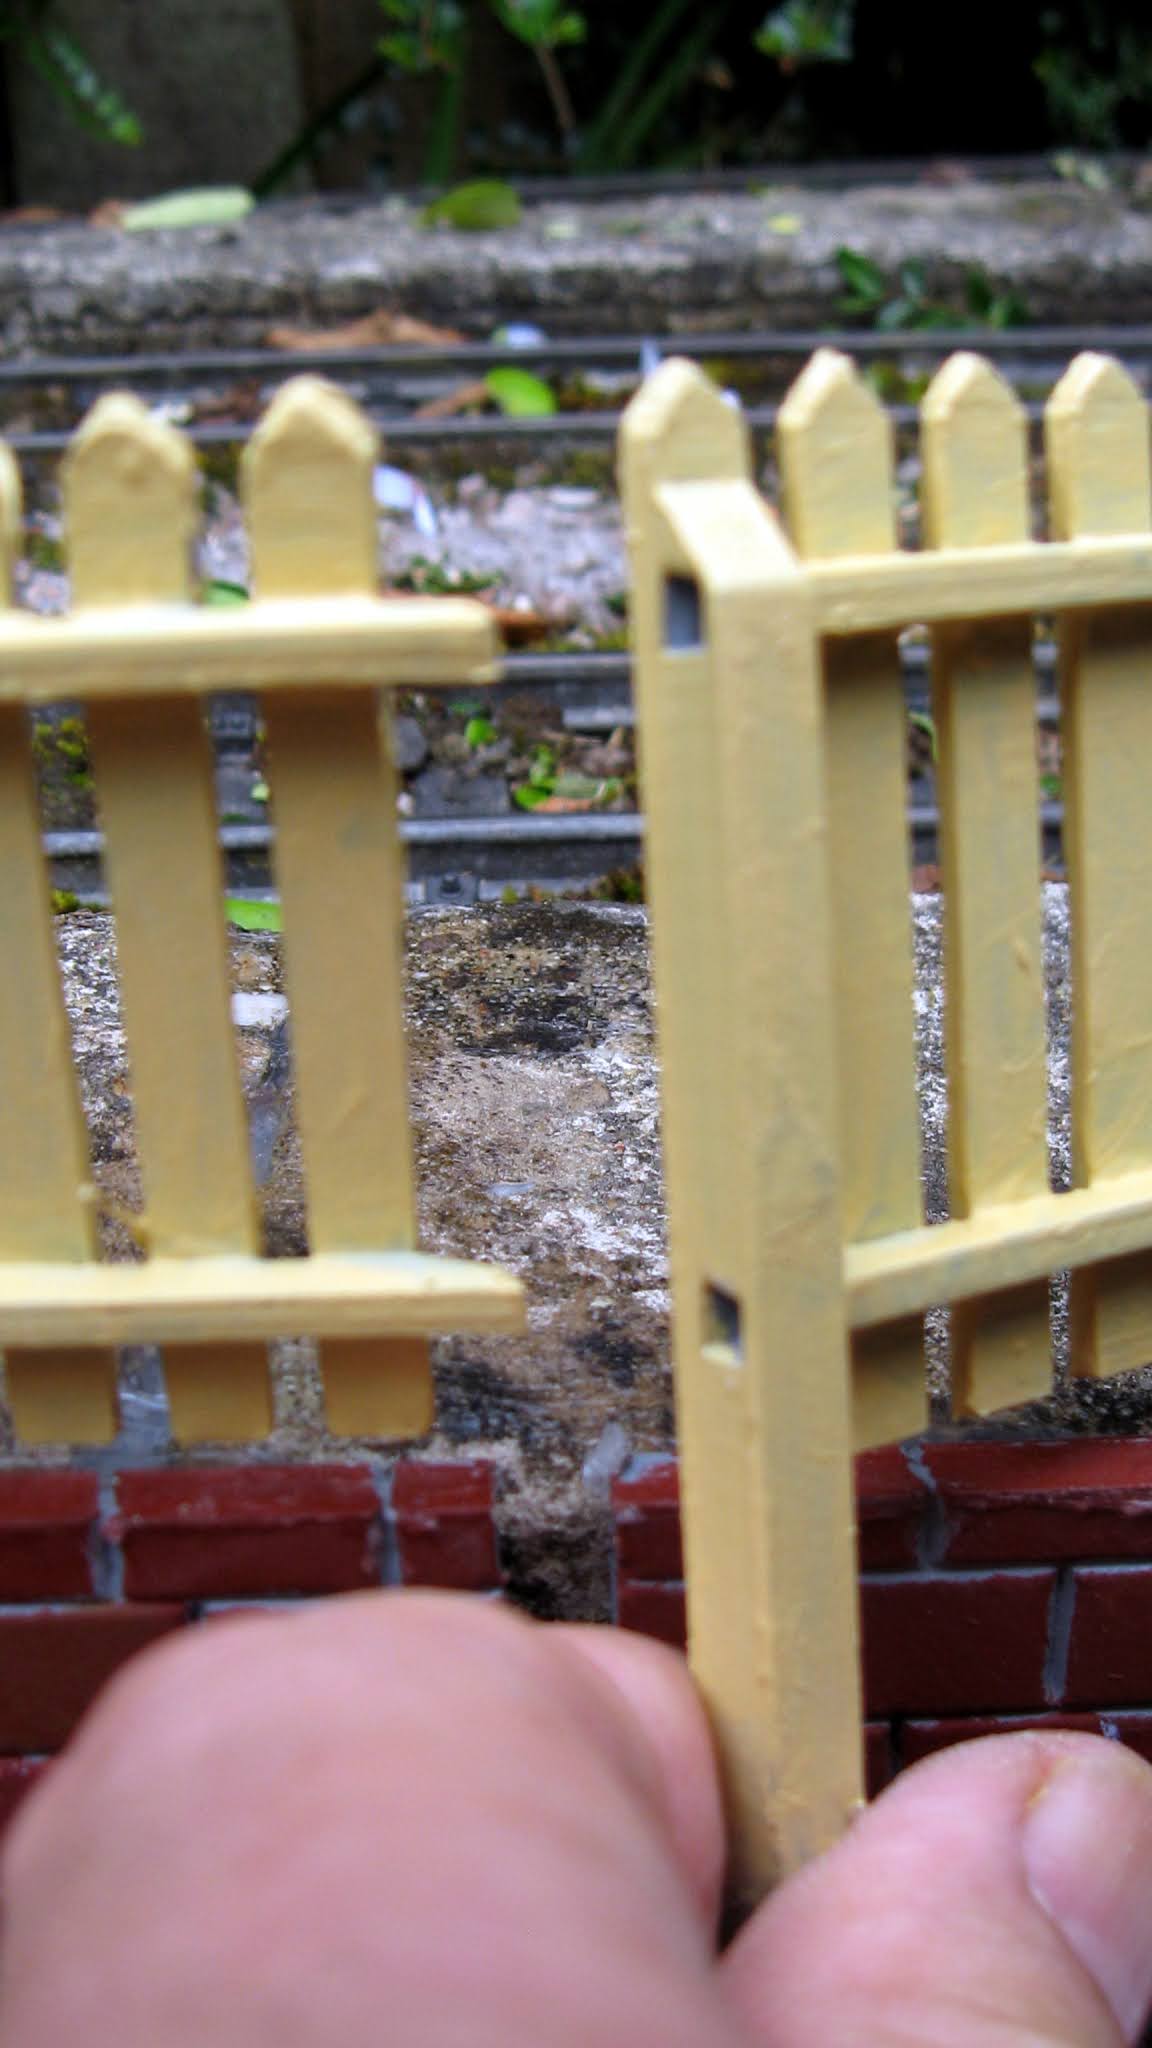
Sufficient lengths of fencing (twenty one) were duly printed out and then primed with grey acrylic primer ......

...... and then given three coats of cream coloured acrylic paint.

To disguise the ugly concrete platform edge and paving slabs behind the new siding, I decided to use 5mm thick PVC foamboard - which has become my material of choice for exterior buildings and structures.
Strips, 60mm wide, were cut and courses of sandstone blocks marked out in pencil.

Slots were cut for the fencing posts ......

...... and the horizontal courses scribed with a screwdriver.

The vertical mortar courses were then impressed with the blade of a wide screwdriver. Inserting the blade into the horizontal course initially .........

...... and then swivelling the blade vertically while applying downward pressure. I find this is a reliable way of ensuring the vertical courses are constrained between the horizontal courses.

Once all the scribing and impressing had been done, the foamboard sections were given a coat of grey primer.

Once this had dried, a reddy-brown coat of acrylic paint was dry-brushed diagonally over the walls. Dry-brushing means getting a small amount of paint on a wide flat brush and lightly applying it on the raised sections of the wall, trying to avoid flooding the impressed mortar courses.

Inevitably, no matter how carefully the dry-brushing is done, some paint will find its way into the mortar courses.

This can be carefully remedied by touching up the mortar with a fine paintbrush, ......

..... and then wiping off the excess with a damp finger or paper towel.

Once the first dry-brushed coat had dried, individual stones were picked out with differing shades and tints of the base colour.

The wall 'fascias' were then fixed in place by applying liberal quantities of clear silicon sealant to the backs and pressing them against the concrete platform edges. Coffee stirrers were snapped to size and wedged against the track to hold the strips in place while the sealant set.

The sealant was left for 24 hours to ensure it had thoroughly set. The fencing sections were then superglued into place.



Finally, the siding and revised mainline was ballasted. The siding was firstly filled up to rail height with a 3:1 mix of builders' sand and cement to which a sprinkling of black cement dye had been added. I usually add a dollop of general purpose PVA with the water when mixing the concrete as this helps with adhesion.

Once the concrete had partially set to its 'green' state (usually overnight), the rails were cleaned off with a scraper - I use a piece of aluminium strip.

This was left to set for another 24 hours and then horticultural sharp sand was sprinkled on and pushed into place with a 1.5 inch paintbrush. I use the RHS brand from my local garden centre as it includes a few small stones and crushed shells to give a bit of variety. I sometimes also mix in some dry soil and/or aquarium gravel (see How I ballasted Beeston Market station).

The area was then flooded with SBR additive. SBR is obtained in 5 litre containers from builders' merchants (or Wickes) and is more expensive than PVA but has the advantage that when it sets it remains flexible, which seems to hold the sand in place more reliably. I also gave the area a very light misting with the hose on a 'mist' setting to encourage the SBR to spread into all the nooks and crannies.

Once the SBR had set, the rails were scraped clean again and the sand was given a watery wash of brown and black cement dyes. I find this tones down the stark appearance of the sharp sand. Thinning it to a watery mix allows some of the sand and stones to show through to give some variation in colour.

Meanwhile, the mainline and turnout was ballasted with my usual 3:1 mix of Meadow View horticultural grit and cement, brushed into place dry .......

......... and then watered with a hose on its 'mister' setting. I find Meadow Vale grit binds together with the cement much more reliably than other horticultural grits.

The siding has doubled the capacity goods stock storage at the station.


There's always plenty to do on a garden railway!!


