For a couple of years, I had been propping up the baseboards at Beeston Market station and the Copper Mine sidings, which had started sagging. At the start of this year, I crawled underneath to see whether I could make more lasting repairs and found that the rot had set in. Although I had used pressure-treated timber, I hadn't soaked the sawn ends of the boards, and this was where a lot of the rot was occurring.
I bit the bullet and decided to lift all the track to investigate further. As the track had been concreted in several years ago, it would require some effort.


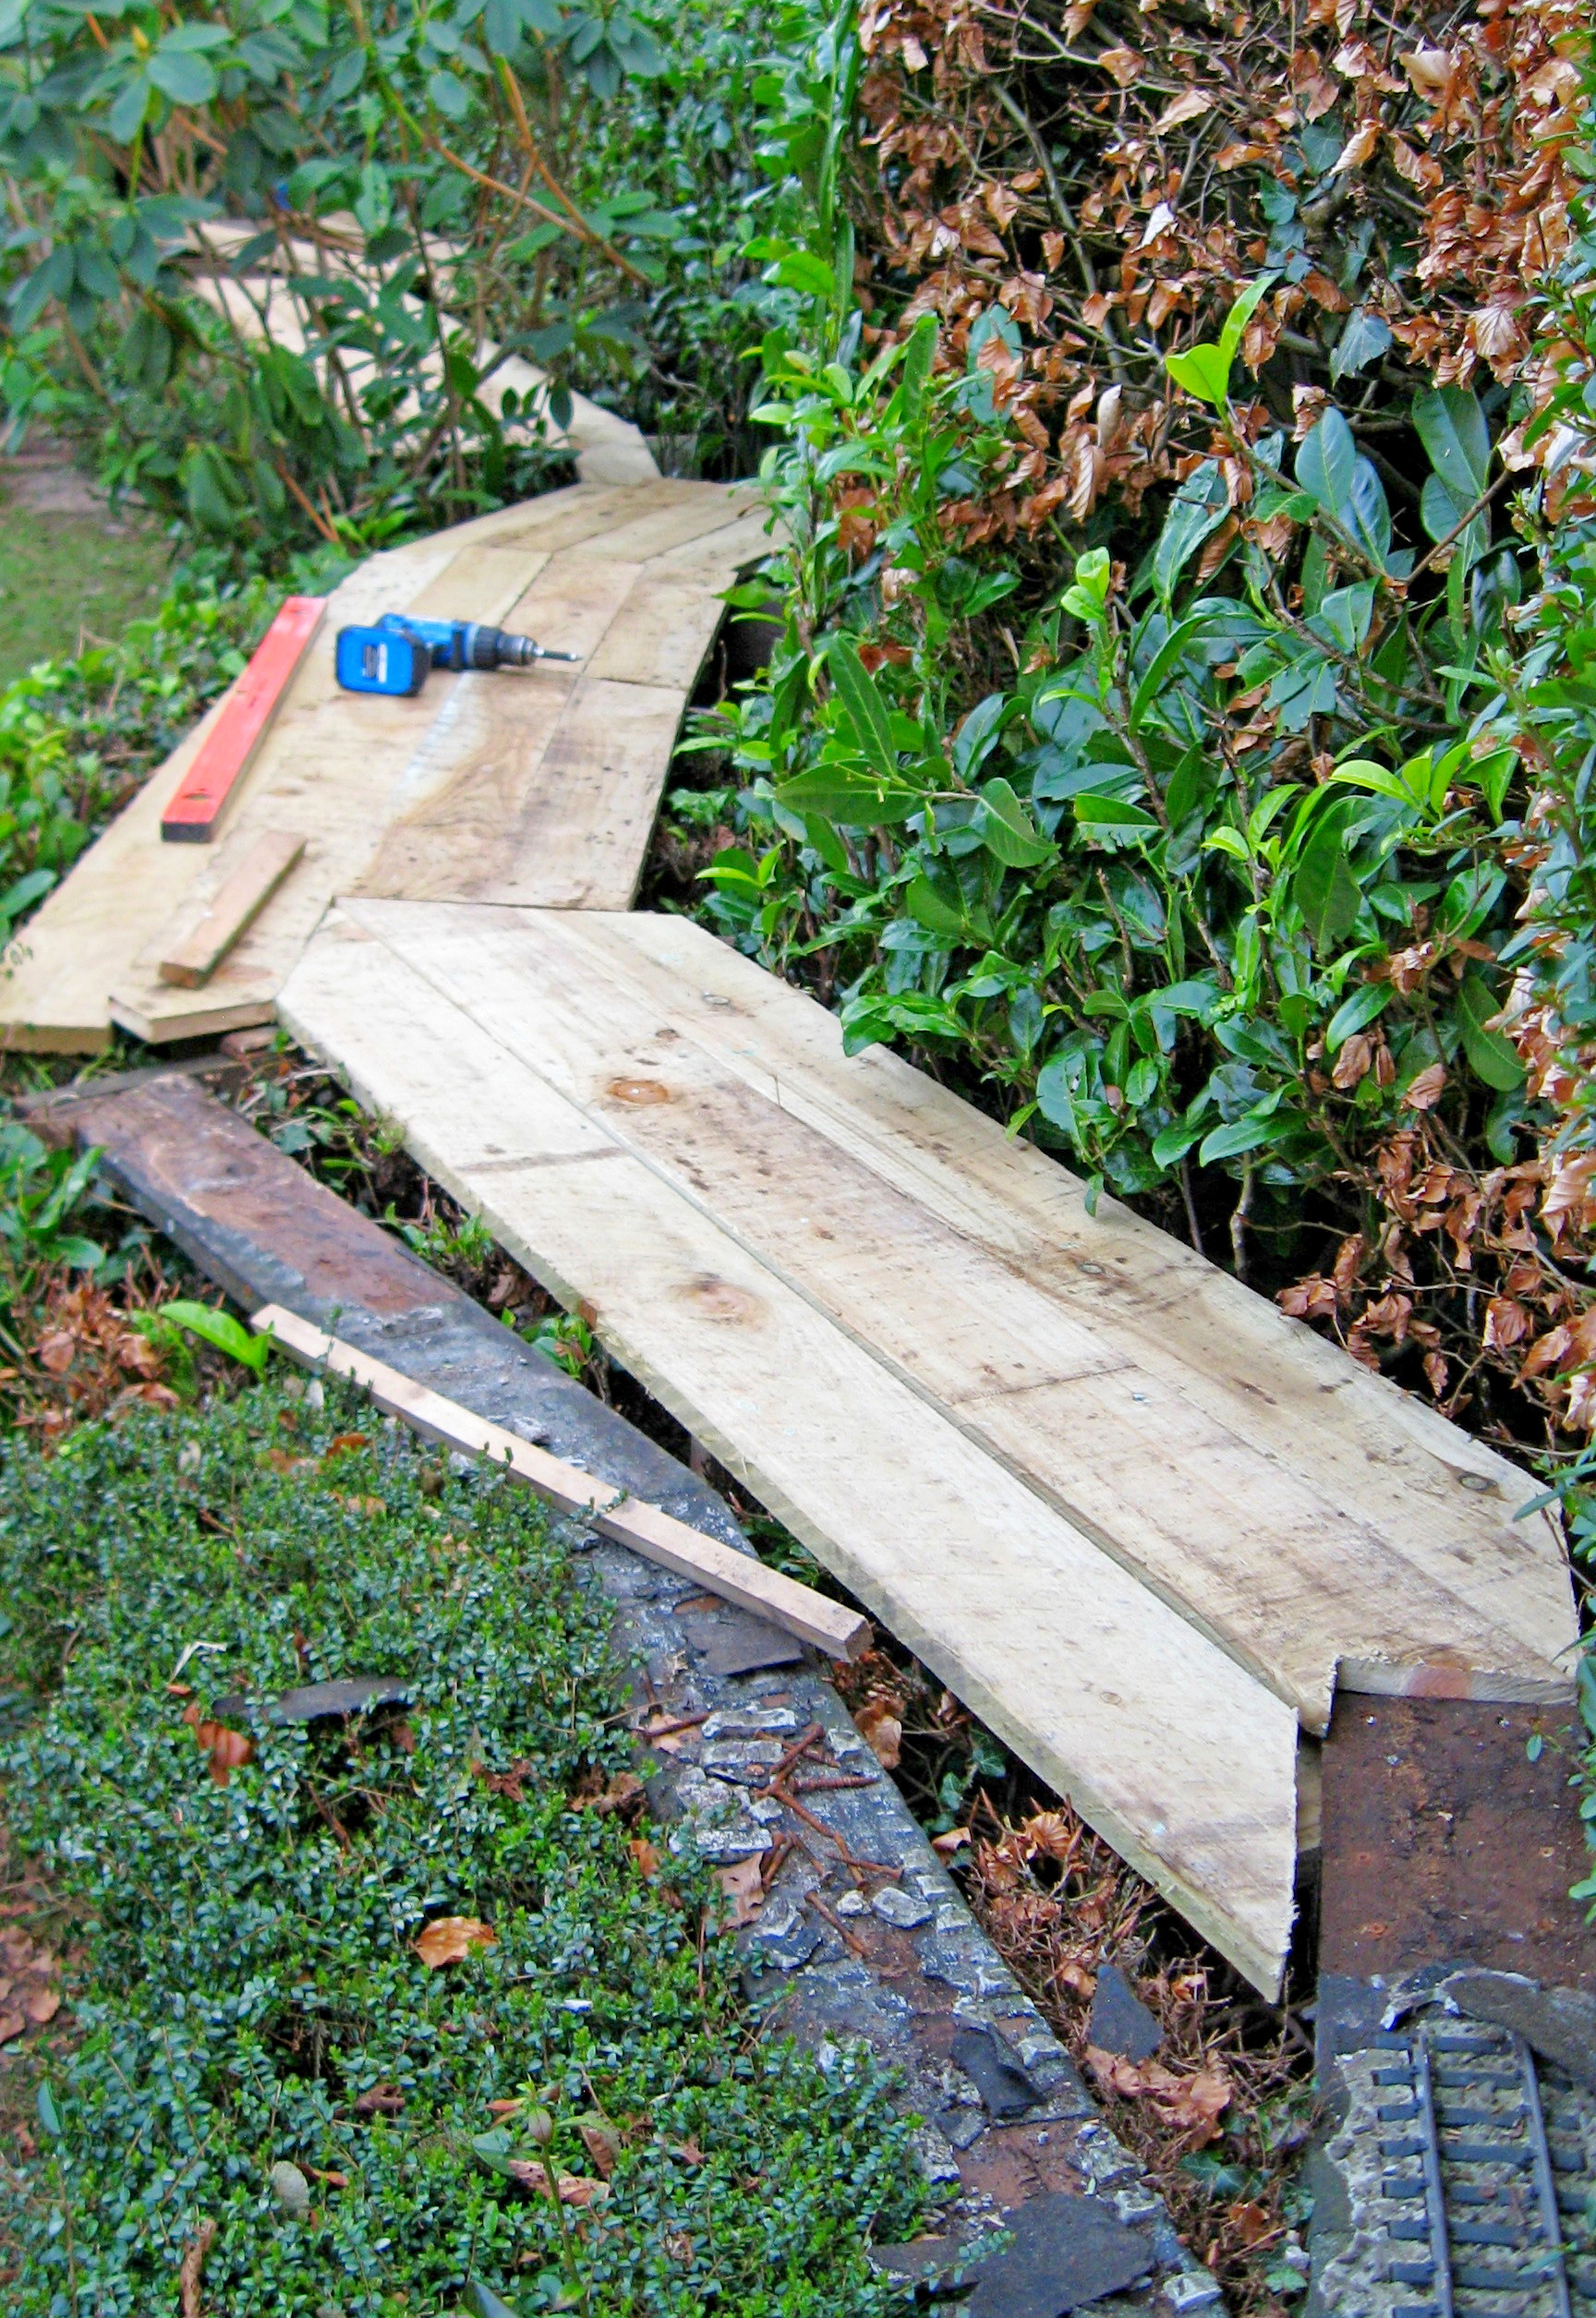
Surprisingly, once the slots in their heads had been cleared out with a worn-down flat-bladed screwdriver.....


A few needed coaxing with Mole Grips and a couple snapped off, but before long I could start lifting the track.


..... but most of the track was recoverable.


..... and examine the boards beneath.

Well over half were still quite solid, but some of the rest were well past their Best Before dates.


I then decided to lift the track and examine the boards beneath the Copper Mine sidings. Some of these too were in a sorry state.


I was now faced with a decision. Should I retain the boards which were still relatively sound and try patching those which had rotted? Or should I scrap the lot and start again?
I decided to go for a complete refurbishment. These baseboards had been in situ for 17 years and I had got decent use out of them. If I kept the half decent boards, how long would it be before they started deteriorating? If I did a complete refurb and get 17 years out of the new boards, I'd be 91 years old by the time they needed to be replaced and I somehow doubted by then I would be able to do it all again.
So, out all the boards came.......


It took three trips to the local refuse tip with my trusty little trailer to dispose of the timber, but I was now ready to start anew.

The first job was to examine all the legs to see if any needed replacement. Two had rotted completely at their bases and two had rotted at the top.


Some extra posts were also concreted in (using Postcrete) to give extra support where I thought it might be needed.

Cross members were then screwed to the posts to act as battens for the baseboards.


At the Copper Mine, I decided to raise the sidings an inch above the adjacent main line to differentiate between them, and so the cross members had a one inch by six inch section removed from one end.

A quick trip to the local fencing contractors (one advantage of living in the country), and a couple of days later a lorry load of 8ft and 12ft x 6" x 1" pressure treated fencing boards arrived. These were placed loosely on the supports to make sure I had ordered enough.


The one inch step between the Copper Mine sidings and the adjacent mainline seemed to work out OK.

And so, with all the boards laid, I was ready for the next stage.

A large roll of heavy duty (15 year guaranteed) roofing felt was acquired from the local builders' merchant and various pieces cut to size to cover the top surface of the boards.

The edges were bonded to each other with bitumenistic felt adhesive .....


Clouts were also used to tack the edges of the felt to the sides.


Once all the boards had been covered, I could start planning the track layout. The first task was trying to figure out where the points would be sited.

- The exchange siding at the back of the station would be extended
- The bay platform road alongside it would also be extended
- The main platform road would be a straight connection to the main line (previously there was a reverse curve)
- The cattle dock siding would now become a loop
- A double-slip would be used to connect the cattle dock siding to the other sidings
- I would try and eliminate all R1 points


After testing this layout and looking at the points I had left over, I decided to add a crossover at the ends of the exchange siding and the bay road, so the locos on ore and mineral trains could run round without having to use the main platform loop. This crossover made use of a couple of R1 points, but I felt they would be fine in that location, as only short wheelbase 0-4-0 locos were used for these trains.
[Awaiting photo]
Once I was happy with the track layout, the track was screwed down - using stainless steel screws this time! I started with the link from the station to the storage roads in the garage. This was an essential fixed point, the relative positions of the rest of the trackwork could be adjusted.


I am hopeful that I will get at least another seventeen years of running trains in and out of Beeston Market station - provided I last that long myself!

No comments:
Post a Comment