Showing posts with label track laying. Show all posts

Thursday, May 22, 2025

How I replaced the wooden baseboards at Beeston Market and the Copper Mine

 For a couple of years, I had been propping up the baseboards at Beeston Market station and the Copper Mine sidings, which had started sagging. At the start of this year, I crawled underneath to see whether I could make more lasting repairs and found that the rot had set in. Although I had used pressure-treated timber, I hadn't soaked the sawn ends of the boards, and this was where a lot of the rot was occurring.

I bit the bullet and decided to lift all the track to investigate further. As the track had been concreted in several years ago, it would require some effort.

The track had been screwed down, so the first job was to track down the screws, which by now had rusted into anonymity.

Surprisingly, once the slots in their heads had been cleared out with a worn-down flat-bladed screwdriver.....

..... the majority unscrewed quite readily.


 A few needed coaxing with Mole Grips and a couple snapped off, but before long I could start lifting the track.

The concrete then needed to be tapped out from between the sleepers (ties) ....

..... but most of the track was recoverable.

With the track lifted, I could now remove the covering of roofing felt (tar paper) ......

..... and examine the boards beneath.

Well over half were still quite solid, but some of the rest were well past their Best Before dates.


 I then decided to lift the track and examine the boards beneath the Copper Mine sidings. Some of these too were in a sorry state.


 I was now faced with a decision. Should I retain the boards which were still relatively sound and try patching those which had rotted? Or should I scrap the lot and start again?

I decided to go for a complete refurbishment. These baseboards had been in situ for 17 years and I had got decent use out of them. If I kept the half decent boards, how long would it be before they started deteriorating? If I did a complete refurb and get 17 years out of the new boards, I'd be 91 years old by the time they needed to be replaced and I somehow doubted by then I would be able to do it all again.

So, out all the boards came.......

It took three trips to the local refuse tip with my trusty little trailer to dispose of the timber, but I was now ready to start anew.

The first job was to examine all the legs to see if any needed replacement. Two had rotted completely at their bases and two had rotted at the top.


Those which had rotted at the base were replaced entirely, but those with rot at the top were sawn off and a new upper section spliced in.

 Some extra posts were also concreted in (using Postcrete) to give extra support where I thought it might be needed.


 Cross members were then screwed to the posts to act as battens for the baseboards.

Above, you can see one of the posts which has had its top replaced.


 At the Copper Mine, I decided to raise the sidings an inch above the adjacent main line to differentiate between them, and so the cross members had a one inch by six inch section removed from one end.

A quick trip to the local fencing contractors (one advantage of living in the country), and a couple of days later a lorry load of 8ft and 12ft x 6" x 1" pressure treated fencing boards arrived. These were placed loosely on the supports to make sure I had ordered enough.

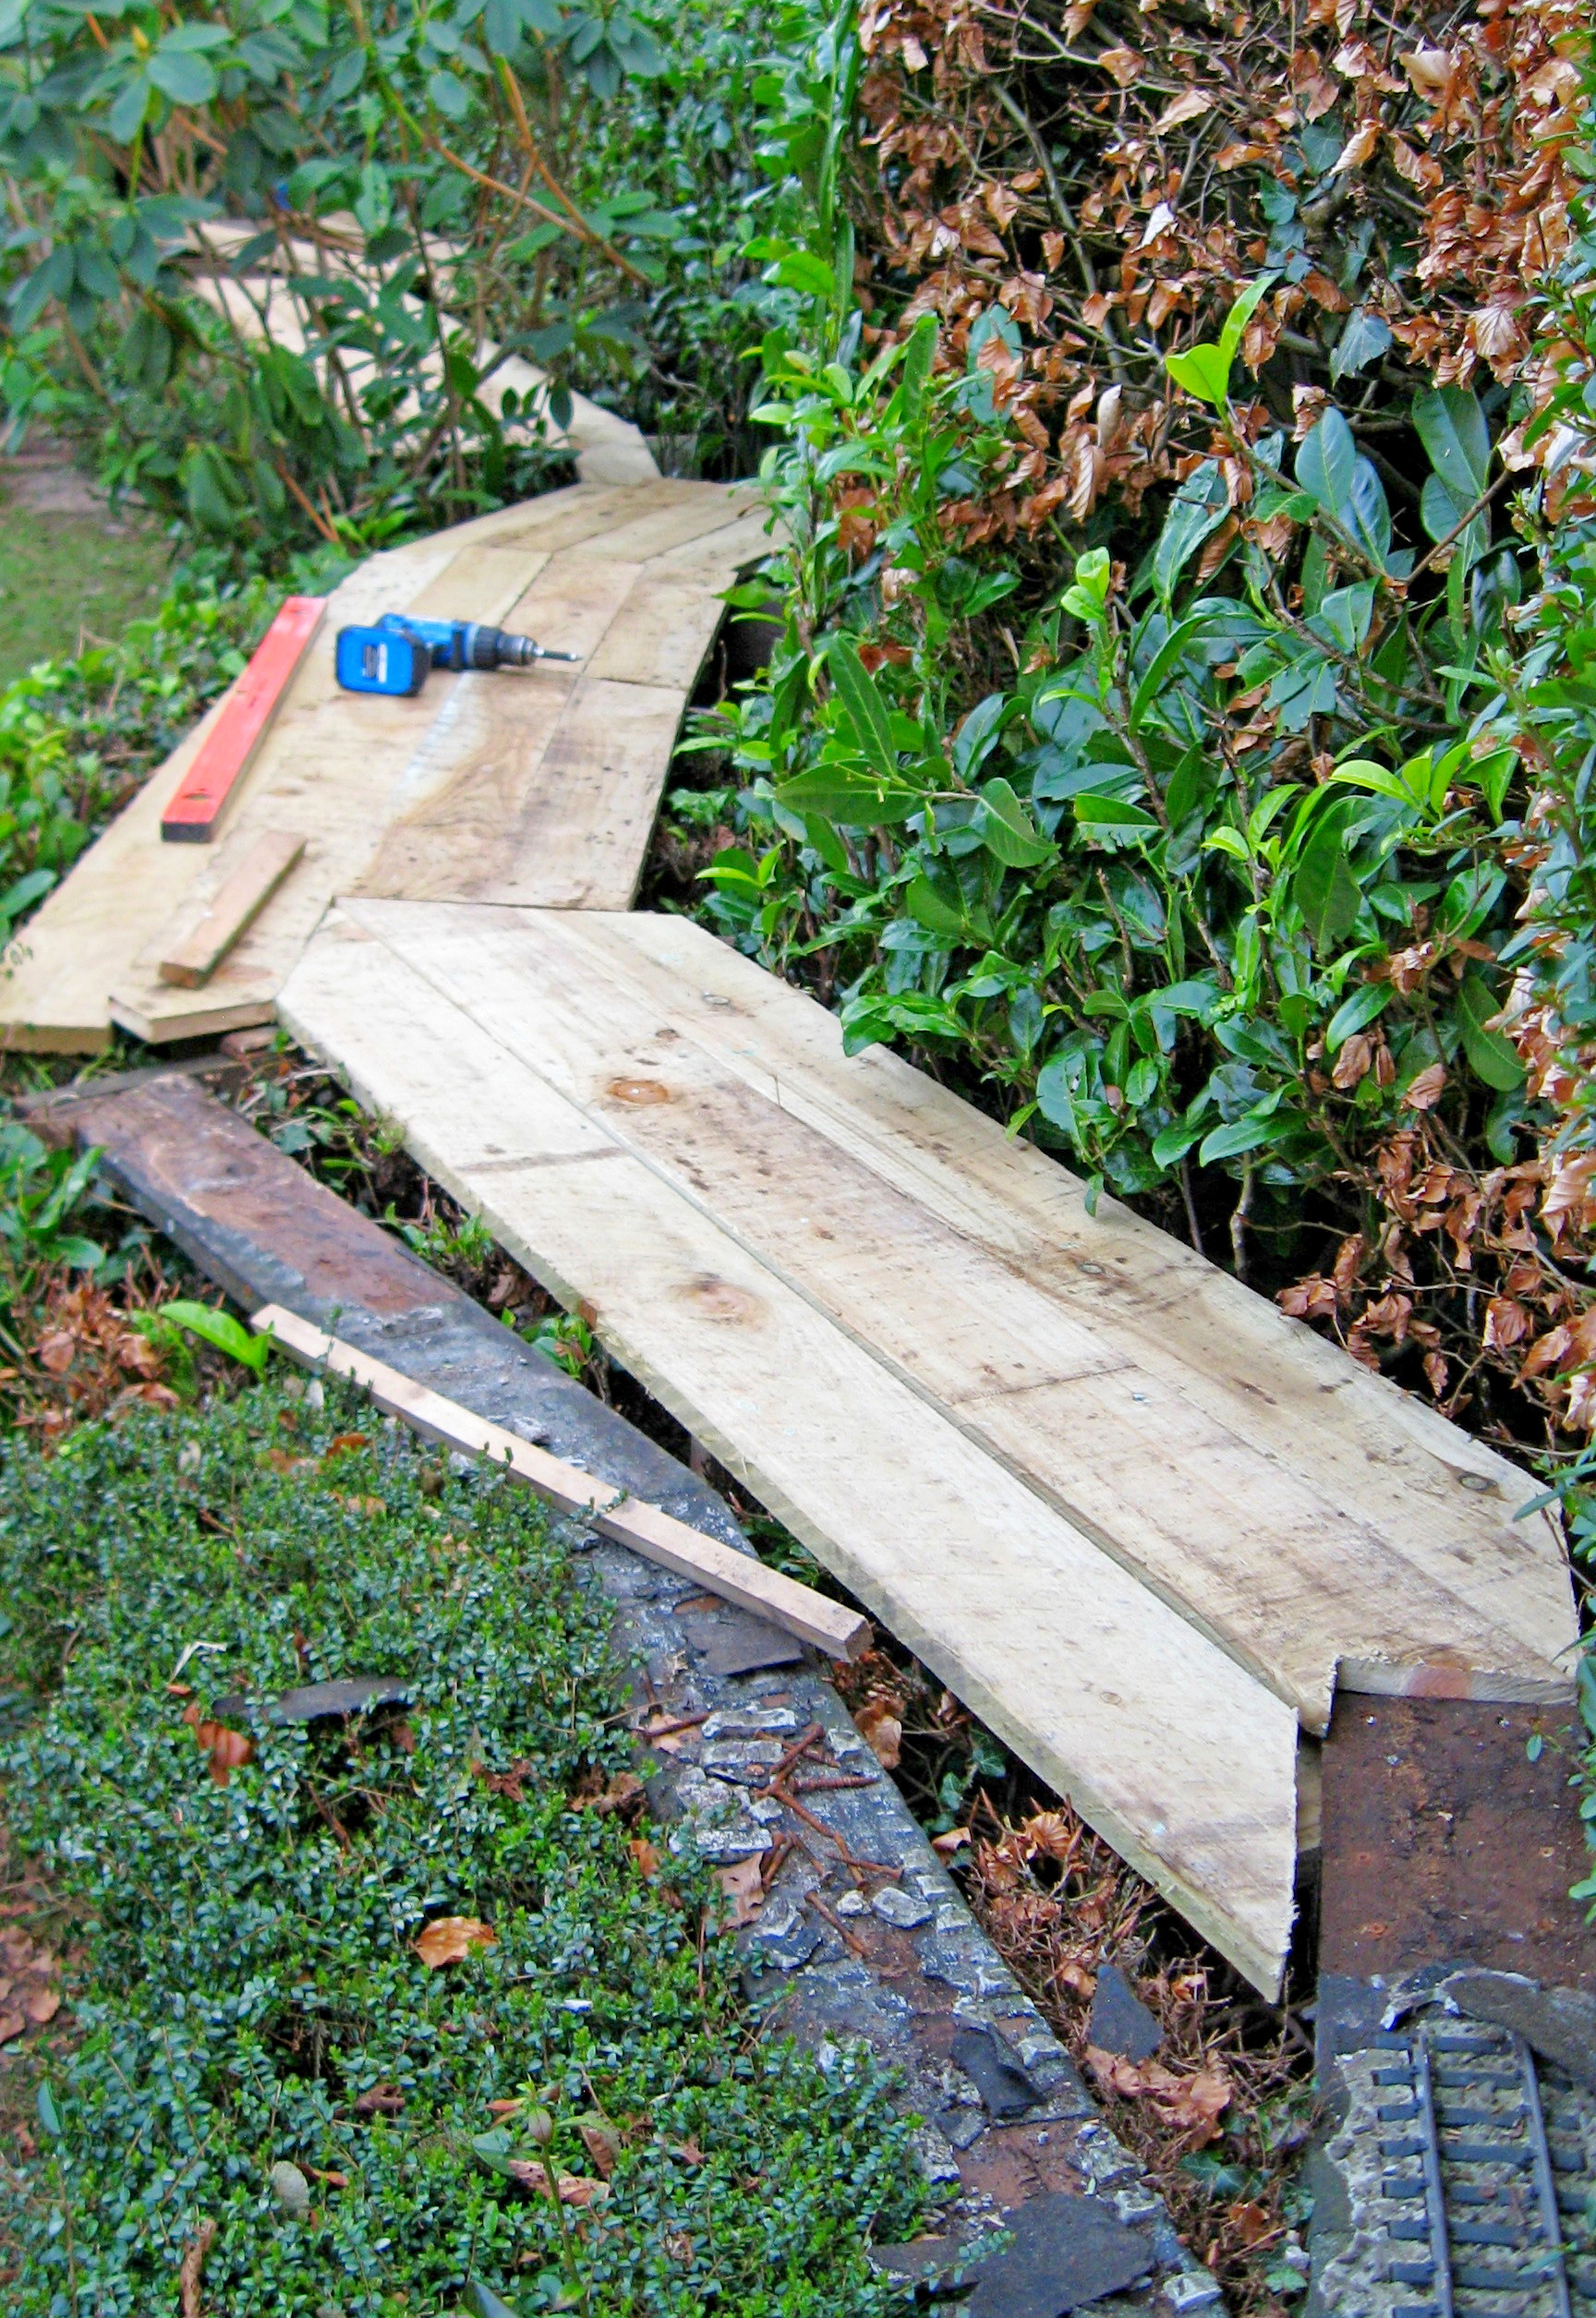
I could then start cutting them to fit their required locations.

This time, I made sure that all the ends I had sawn were liberally soaked in wood preservative - something I had neglected to do with the previous baseboards, which might have hastened their demise. I also made sure that every joint either coincided with a batten and/or was suitably reinforced beneath.

 The one inch step between the Copper Mine sidings and the adjacent mainline seemed to work out OK.

 And so, with all the boards laid, I was ready for the next stage.

A large roll of heavy duty (15 year guaranteed) roofing felt was acquired from the local builders' merchant and various pieces cut to size to cover the top surface of the boards.

The edges were bonded to each other with bitumenistic felt adhesive .....

..... and held in place with galvanised clout nails.


 Clouts were also used to tack the edges of the felt to the sides.


 Once all the boards had been covered, I could start planning the track layout. The first task was trying to figure out where the points would be sited.

The track layout would be similar to how it was originally, with a few slight variations.

  • The exchange siding at the back of the station would be extended
  • The bay platform road alongside it would also be extended
  • The main platform road would be a straight connection to the main line (previously there was a reverse curve)
  • The cattle dock siding would now become a loop
  • A double-slip would be used to connect the cattle dock siding to the other sidings
  • I would try and eliminate all R1 points
 

After testing this layout and looking at the points I had left over, I decided to add a crossover at the ends of the exchange siding and the bay road, so the locos on ore and mineral trains could run round without having to use the main platform loop. This crossover made use of a couple of R1 points, but I felt they would be fine in that location, as only short wheelbase 0-4-0 locos were used for these trains.

 [Awaiting photo]

 Once I was happy with the track layout, the track was screwed down - using stainless steel screws this time! I started with the link from the station to the storage roads in the garage. This was an essential fixed point, the relative positions of the rest of the trackwork could be adjusted.


 Once all the track was in place, I cut some of the remaining 6" x 1" timber to provide a temporary platform and then did some test running to make sure the trackwork was OK and to ensure there was sufficient clearance for stock around the platform.

Once I was satisfied that the track was reliable and the clearances were fine, I added some detailing to the platform (see How I made a platform for Beeston Market station) and the track was eventually ballasted using a similar technique to that I used with the original track layout (see How I ballasted the track at Beeston Market Station).
 
Whilst all this was ongoing, I ran a full operating session and made a couple of videos .....
 

 I am hopeful that I will get at least another seventeen years of running trains in and out of Beeston Market station - provided I last that long myself!

Tuesday, February 24, 2015

How I built some storage roads in the garage

For about the past five years I have been storing my stock in boxes which I have carried in and out of the leanto (see How I made some stock boxes)

This was a good solution at the time, as each box was matched to a siding on the railway and I was able to remove goods stock in its exact location at the end of a running session and replace it at the start of the next - freight operations are one of the things I enjoy about running my railway.

However, the disks in my neck have been giving me health problems which are exacerbated when I lift, twist and carry things - such as loaded stock boxes. It looked as if I needed either to find an alternative method of storing stock or abandon my railway.

Before we built a new garage, the station at Beeston Market was terminated by the fence which separated the front and back gardens.

The position of the newly built garage led to the removal and repositioning of this fence - but also opened up an opportunity to extend the station.

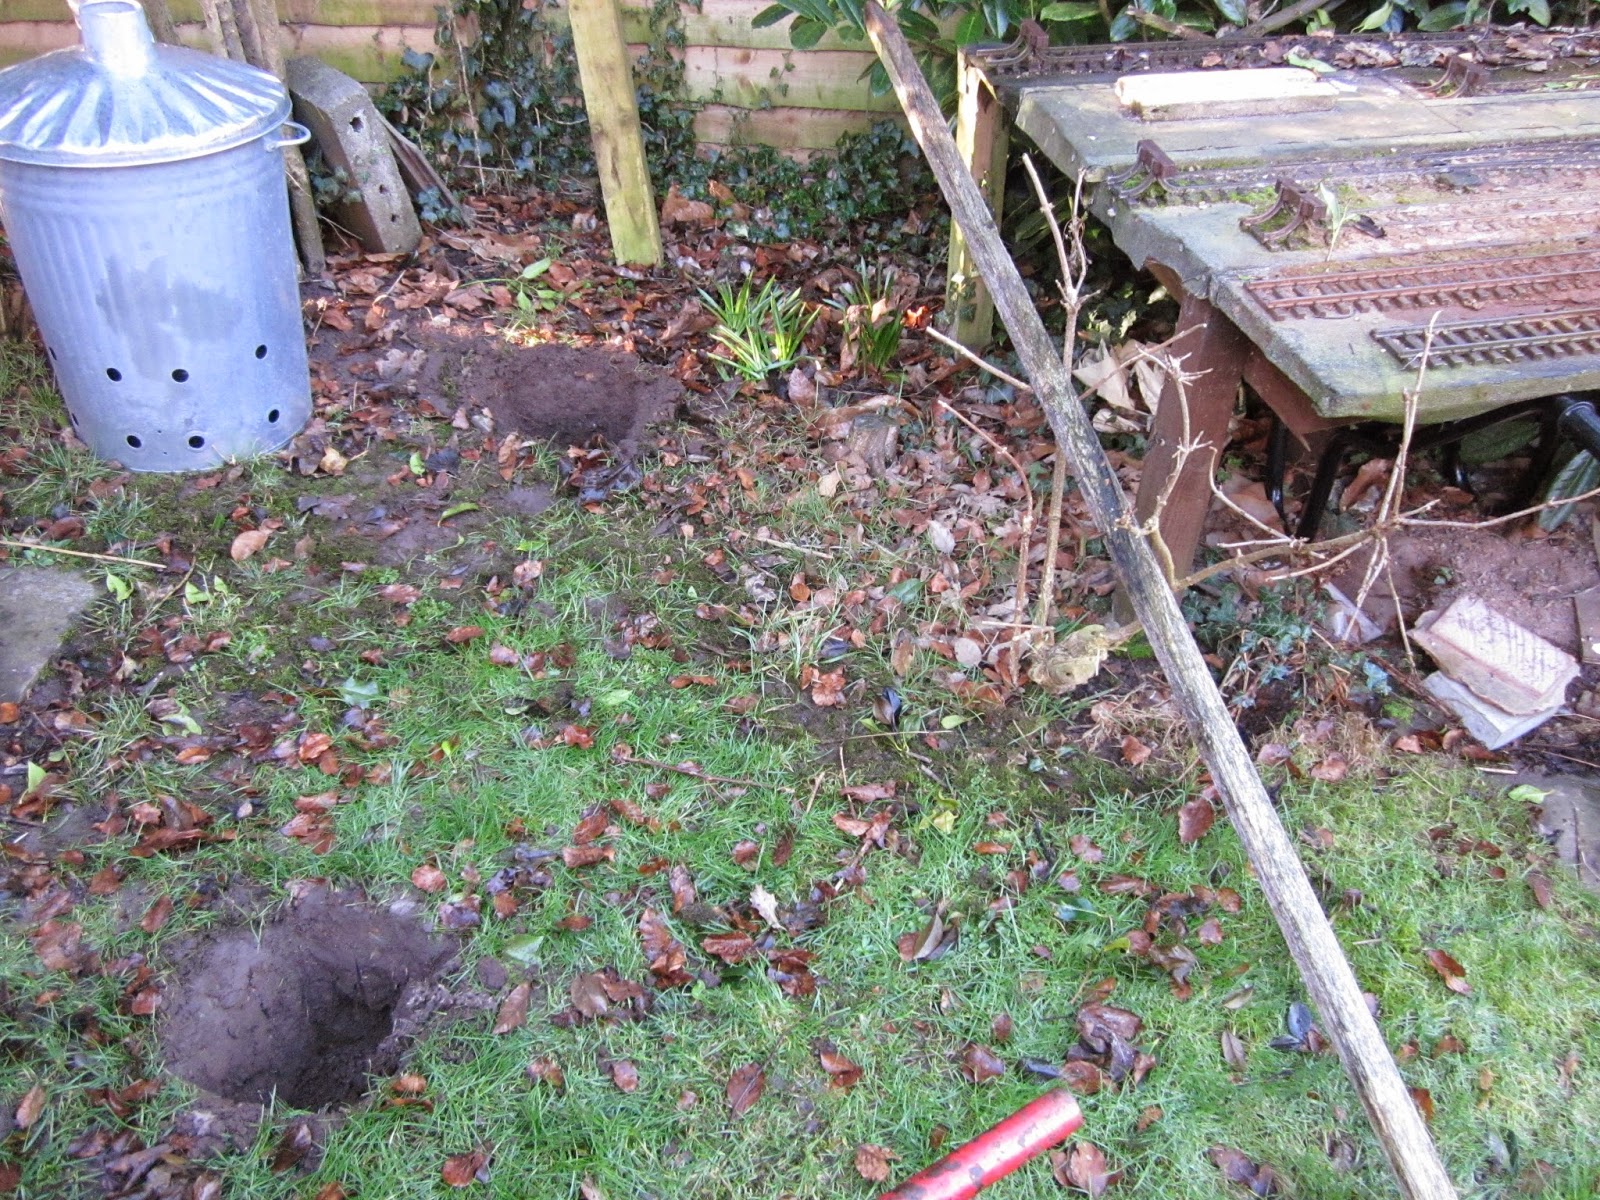
 I  decided, that if the extension to the station was angled towards the garage (see clothes prop lying on the ground in the above photo), I would be able to run a line into the garage.

Having decided on the geometry for the extension, I dug a couple of holes for the support posts.

 Two posts (recycled from the boundary fence) were cut to length and concreted into the holes (see How I mix concrete).

 A framework was then made for the baseboard, using the palings recycled from the removed fence (which incidentally was erected 34 years ago).

 When the framework was completed ........

...... it was boarded with more palings .........

...... and given a liberal coating of wood preservative.

It was then covered in roofing felt (tar paper), the edges glued in place with bituminous roofing adhesive.

The baseboard was now well placed for a spur to lead into the garage.

A chance meeting with the builder who constructed the garage resulted in a 4.5inch diameter hole appearing in the garage wall in the position needed.

 When I had erected the storage shelving in the garage, I had ensured that the lower shelf coincided approximately with the railway baseboard for just such an eventuality as this.

 However, a 4.5inch hole was never going to be large enough, and so the largest item of rolling stock was used as a template ......

..... for enlarging the hole. In addition, I needed to angle the hole in the same direction as the plank bridge leading up to the hole. On reflection, the 'pilot' hole should have been more central to the planned hole - but hopefully this will help you avoid my mistake should you want to follow in my footsteps.

A long 10mm masonry bit was used to drill a series of holes around the perimeter of the envisaged tunnel mouth. These were then linked together by drilling downwards and upwards from each hole.

The hole was then knocked through with a hammer and cold chisel. The pilot hole proved invaluable at this point in allowing the debris to be removed.

The Thermalite blocks inside were much easier to shape, with a saw.

 Clearances were checked and some fine tuning was carried out with the chisel, a hacksaw blade and a rasp. Unfortunately, when I plugged in my angle grinder, there was a blue flash and a puff of smoke, otherwise I would have tidied up the hole with it. Maybe Santa will bring me a new one.

Four pieces of 2"x1" treated timber formed the tunnel portal into which a flap, made from a couple of pieces of fence panel, was hinged.

The plank bridge was cut to size and made to sit on the lower edge of the frame for the flap. The other end resting on another piece of 2"x1" timber.

The end of the outermost former engine-shed siding was extended (to make a carriage siding) and then run across the plank bridge.

 Once inside the garage, the track divided into three using a couple of R1 points (turnouts) which were recycled as part of my ongoing upgrading of the main line - replacing all R1 points with larger radius points (see Progress Report 51 for example).

 The ends of the track on the plank bridge were aligned by soldering two short lengths of 2mm outside diameter (OD) brass tubing and using a bent galvanised nail as a bolt. 

Unfortunately, because the air temperature was low and there was a stiff breeze, it was difficult to heat the rail, even with my 75watt soldering iron, and my soldering was not as neat as I would like. In the balmy days of summer, I will re-solder these joints.

At this point, some stock was run in and out of the garage to ensure the clearances were sufficient.

Rather than splashing out on expensive track for the storage roads, I opted for a cheaper method - using 4mm x 12mm stripwood.

Two pieces, mounted on top of each other, provided the rail, which were notched to align with the brass rail.

To avoid splitting the stripwood, 1.5mm holes were drilled to take the brass panel pins.
 A track gauge (lying on its side behind the drill) was cut to ensure the rails kept to the right gauge.

Sleepers made from the stripwood lifted the wooden rails to the correct height, before it was then gently lowered to shelf-height.

To tidy-up the original pilot hole, a Thermalite plug from the original 4.5" bore was shaped with a saw and will eventually be concreted into place.

The wooden sidings were extended across the full width of the garage which gives me around 50' of storage space. This allows me to store all my goods and passenger stock with a few feet left for later expansion of the fleet.

All the stock has now been test-run in and out of the garage. This required a little tweaking here and there to provide sufficient clearance and in places the wooden rails needed to be re-gauged, but otherwise all now seems set for operations.

 Meanwhile, outside, the second former engine shed road has been extended to form another carriage siding and the platform roads extended into the newly positioned engine shed. There is still a lot of landscaping to do - a coaling stage and water tower will be added to the platform road leading to the shed and a station forecourt will be made towards the back of the board.


And, of course, I will need to find somewhere to store all the junk which was on that shelf in the garage. But hopefully, this work will ultimately help to save my neck from further damage..........