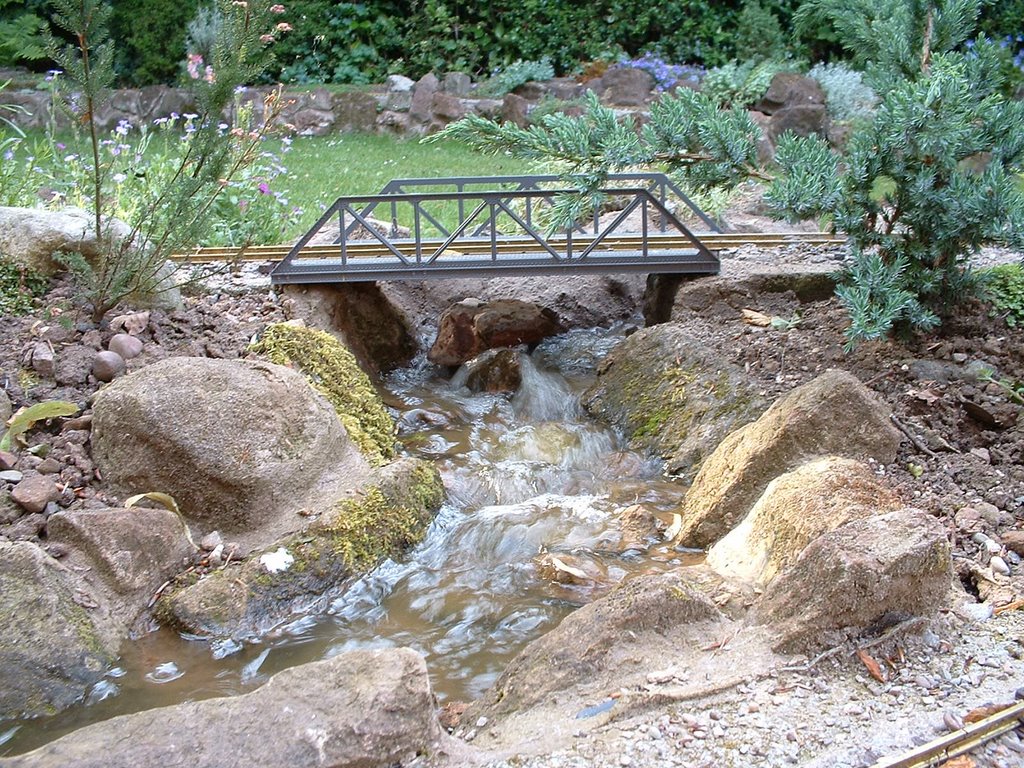
This Blog describes the ongoing development of a 16mm scale 45mm gauge garden railway situated in the North West of England, UK from 2004 to the present day.
A week of almost unbroken sunshine has meant a lot of time spent in the garden. However, work commitments have provided precious little time to do anything other than titivate. However, I have managed a few further developments:
The sump for the stream has been enlarged - a plastic dustbin providing a cheap and effective solution
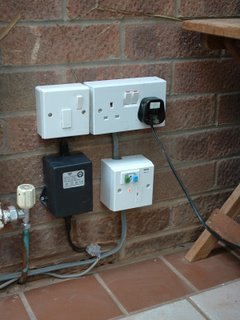
Mains electrics have been laid outside (suitably protected with an RCD - see above)
Low voltage lighting has been added around the patio-to-be
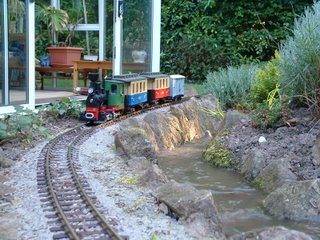
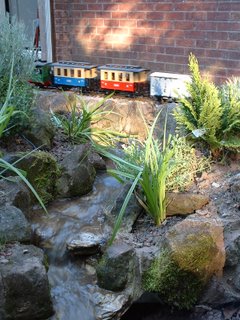
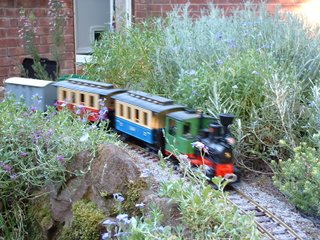
And an opportunity has been found to test run my one and only train - the LGB starter set loco and coaches plus one Accucraft closed van. As you can see, the stream is now running successfully.
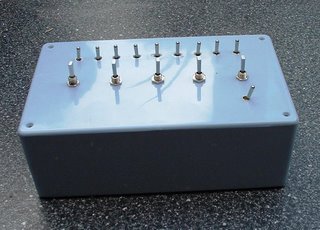
The control panel / switch box, is under construction.
The top row of switches are to energise the various electrical sections around the line, the middle row of switches operate the point motors on the pointwork and the solitary switch on the bottom right reverses the polarity on the reverse loop.
The most pressing job at the moment is to find a way of eliminating a hump at the end of the swing bridge, which will entail raising the breeze block on to which the track is fixed.
Things are moving on. The railway is taking shape.
Barbecue
Friday was a gorgeous day - unbroken sunshine and, for almost the first time this year, pleasantly warm. An impromptu barbecue was organised after work. Very pleasant to sit in the garden with a glass of fizz and blackened meat which was once a kebab, with a train chugging away in the background.
Snagging
The weekend was spent mostly in sorting out some of the snags from tracklaying so far. I decided that, rather than lifting track and levelling the underlying trackbed, I would try a less radical solution. I figured that even after re-laying the blocks, they could re-settle and then I'd have to re-do the whole procedure. Besides, I wanted an easier life!
My solution was to use strips of roofing felt. At around 1mm thickness, I could use it to even out some of the inconsistencies. Eventually, it would be hidden by ballast, so .................
In this photo you can see that the pointwork in the through station has been levelled. Also you will notice I have invested in some plants - a mixture of alpine perennials and a few annuals to provide a bit of colour.
Various other depressions and high spots have been levelled around the garden. Trains are now running a lot more smoothly.
Stream
I also took the opportunity to dredge the sump at the bottom of the stream - you'll notice the dead leaves in the photo above - the water from the sump (which I am sure is rich in nutrients) used to help establish the new plants.
At the same time, the stream was sluiced through to rid it of leaves and rain-washed soil. The resident frog in the sump (I refused to call it a pond) looked on with interest but seemed to enjoy the refreshed water - a combination of rain water from the butt and tap water.
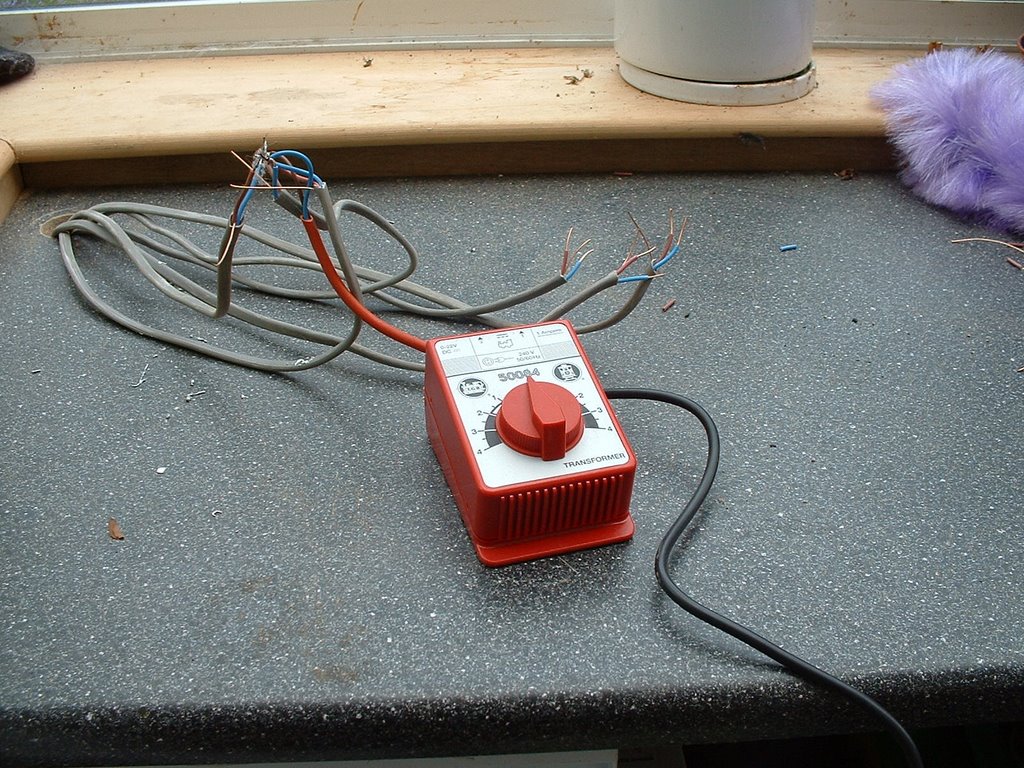
As can be seen, the weekend ended with rain. The wires in the background are those for the terminus station which need to be threaded through to the control panel in the leant-to.
Control panel
This is still very embryonic. A few wires soldered together to check on circuits and to enable me to run test trains. One day, this will become a well crafted control centre ........ In the meantime............... needs must!
You will see from Progress Report 7, that I use a sump for the end of the stream, rather than having a pond. Firstly, this part of the garden is shaded from the sun by the house and so a pond would receive insufficient sunlight to keep it healthy. And secondly, I did not fancy having a breeding ground for mosquitoes so close to the house.
Initially for the stream bed, I purchased a fibreglass, ready-formed stream, complete with pump. It was OK as a temporary measure but when I realised I would need to bed it into the landscape, I recognised its limitations. It was also very expensive and very short.
I then consulted various books and websites. I had originally intended to construct the bed of the stream entirely from concrete, but the books suggested this was not advisable as it cracks easily and ceases to be watertight. Ready-made plastic or resin sections of waterfall and stream seemed horrendously expensive - I worked out that even a short two metre stream would cost over 600 GBP (at 2006 prices). Using PVC or rubberised pond-liner seemed a better option, but would be difficult to blend into the landscape. Eventually, I opted for the method described below which aims to combine the reliability (and cost effectiveness) of a flexible liner with the creative potential of concrete. I have had one section in place for over a year now and it seems to be weathering nicely (UPDATE 2018 - the stream has been in place for twelve years now, and so far, so good).
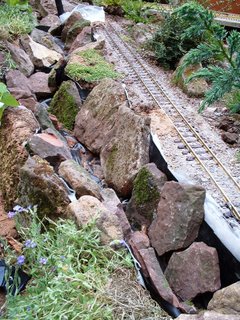
The photos for this post show an extension I added to the original stream.
Stage 1
I planned where the stream will flow - making sure there was a gentle fall from top to bottom.
At the bottom of this photo, you can just see the top of the original stream. Also, you can see the junction-piece ready for extending the pipework.
Stage 2
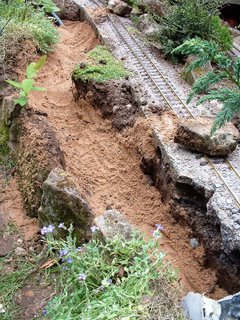
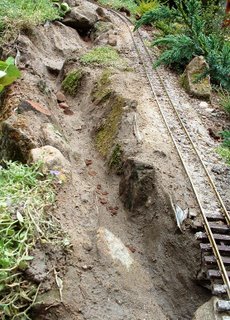
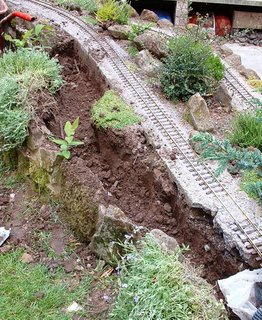
I dug out the bed for the stream with a trowel, digging approximately 6 inches (15cm) deeper than the actual stream bed.
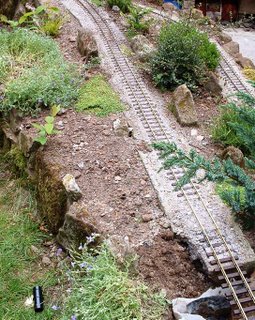
You can see I also chiselled into to blocks supporting the trackbed as I needed more width for the stream at this point.
Stage 3
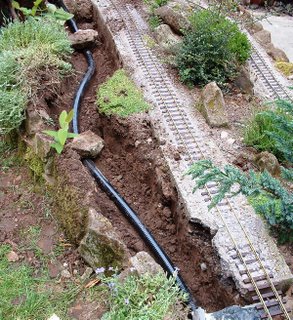
The pipework is laid at the bottom of the trench. You may prefer to lay this to one side, in case leaks need to be repaired. I'm working on the principle that plastic pipes are almost indestructible and are more likely to be damaged by careless digging - hence laying them beneath the stream itself where there will be no digging.
The rocks are there to hold it down for the photo and were removed during the next stage.
Stage 4
Soft sand was laid over the pipe, to provide a bed for the stream. Where possible, it was moulded up the sides of the stream to ensure sharp stones don't puncture the liner.
Stage 5
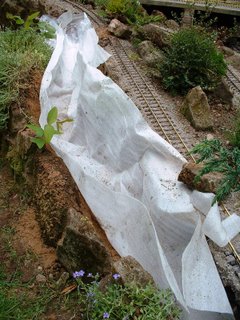
I used some foam packaging which was wrapped around some electrical good to act as an additional cushion for the liner. This is not essential but I had it to hand and hate to see waste.......
Stage 6
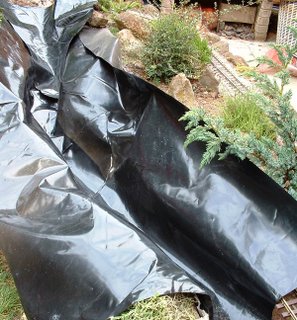
I next laid the liner which as you can see is initially much wider than it needs to be - easier to cut of excess than try to extend something which is too narrow. Stage 7
Now came the creative part. I carefully selected chunks of sandstone to line the sides of the stream. Because the stream was very narrow, I had to cleave some of the blocks. I suppose you could use pebbles, stones or gravel but as I had some chunks left over from building the rockery I used these - and it ties in with the locality.
Once I was happy with the position of the rocks (and this took more than a little trial and improvement), I trimmed back the excess plastic liner and the foam 'underlay'.
I then tested the stream by turning on the pump. When making the original stream, I had to test it by pouring water from a bucket as the pump I had then was too weedy. I quickly realised the flow was going to be too great for this new narrower stream and so decided to split the pipe at the point I had joined the new length to the old. I now have an outlet flowing into the original stream and an outlet flowing into the new stream.
Stage 8
The messy bit! I donned a pair of rubber gloves for this - I prefer the 'hands-on' method. A mix of 4 parts sand to 1 part cement was slapped, slopped and splodged behind, under and between the rocks to fill the cracks, provide a bed for the stream and, in places, create some new rocky outcrops. If I hadn't had any rocks, I could probably have moulded my own from concrete. I use an old 2" household paintbrush to smooth down the cement - it can also provided in interesting finish if it is stippled on the surface. When concrete is 'green' (ie when it has partially dried out but before it is hard) it can be sculpted and scribed.
I tend to then leave it for at least a week to harden. If the heatwave had continued, I would have covered the concrete with damp cloths to prevent it from drying out too quickly. Similarly, if it rained heavily I would have covered it with polythene.
Conclusion
I have no idea how durable this approach will be - a hard winter might result in some frost damage. However, I anticipate it will be relatively easy to repair any cracked concrete and the liner should prevent leakage (should!).
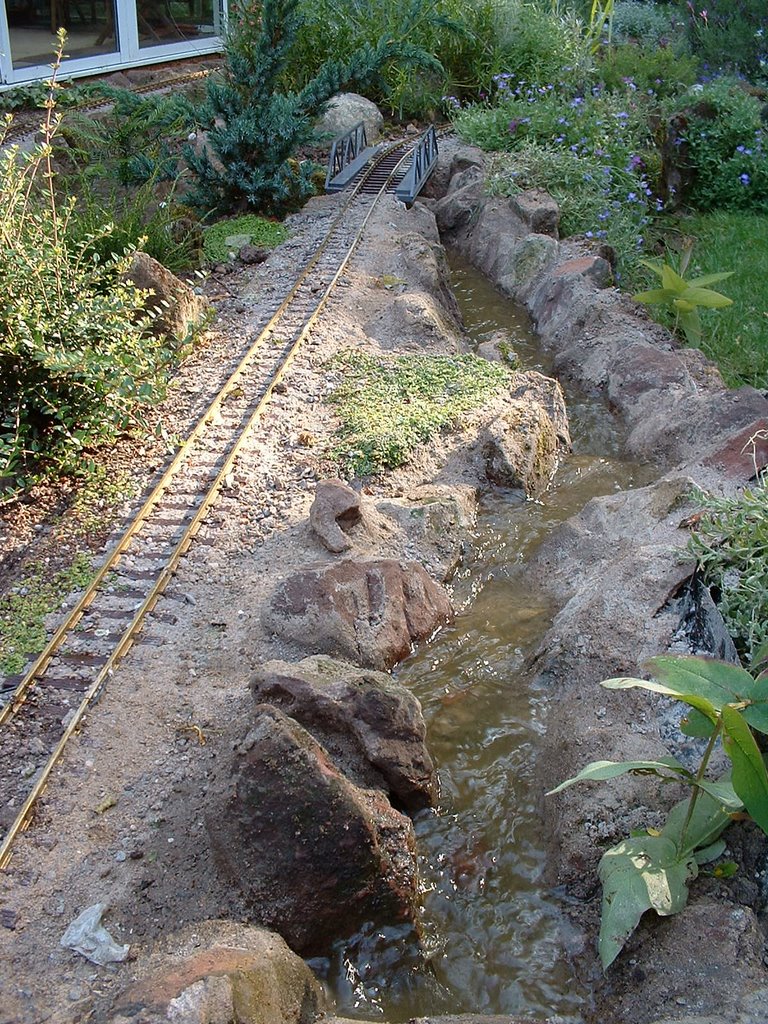
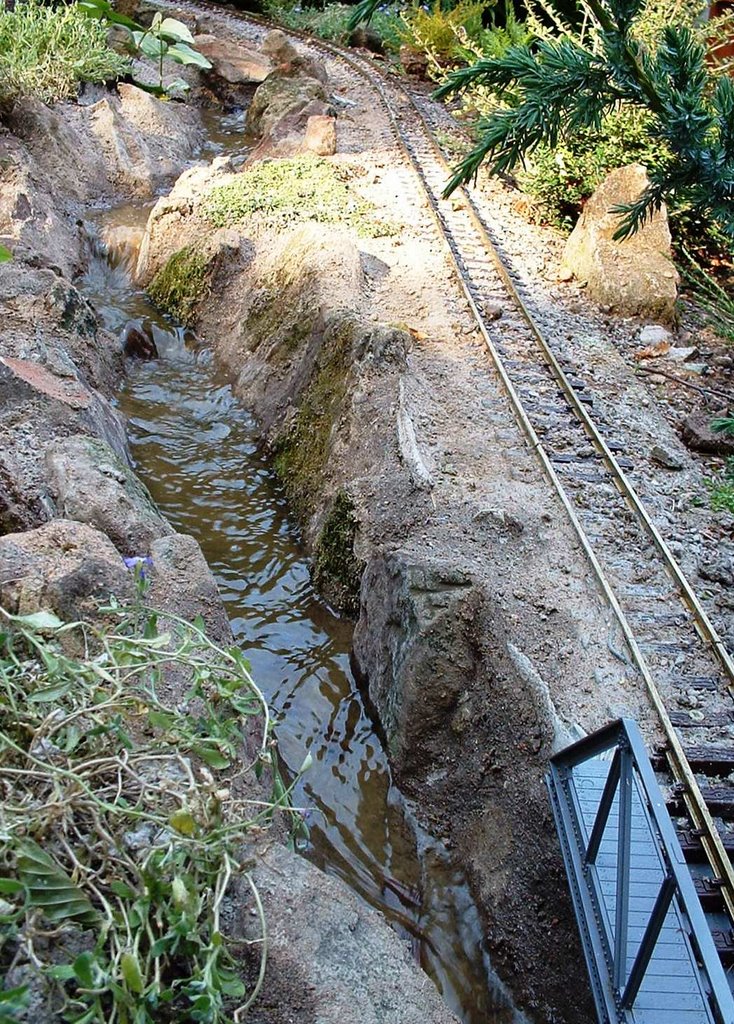
Views of the stream
The new extension
Where the new joins the old
The original stream
Update - July 2012
Over the past six years, the stream has become blended into the landscape. Moss and Mind Your Own Business (aka Baby's Tears) now line the banks and dip into the flow, giving the stream a more natural look.
From time to time I have to clear out the waterways of encroaching undergrowth - but this takes only a few minutes a couple of times a year. There is some seepage of water, which means that if I run it for around half a day
I have to top it up with around a gallon of water. I can't figure out
where the water is escaping as nowhere seems to become soggy, but this
rate of seepage is something I can live with.
I am now considering adding a mill beside the main stream. It will be positioned on the further bank and will require its own dedicated siding - similar to that found on the Southwold Railway. As it will be on the furthermost bank of the stream I will need to build a bridge - and a simple timber trestle seems the most appropriate (again similar to that on the Southwold. I am also interested in building a fairly realistic mill race and sluiced leat to feed the mill. I'd like to be able to regulate the water flow in some way so the wheel doesn't end up spinning madly (and unrealistically) - but that may prove more difficult than I imagine!
UPDATE - July 2017
After supposing that I had a leak in the stream (which there wasn't), I remodelled the section of the stream beside mill (see How I revamped part of the stream). I widened the stream here and incorporated a small section of mill-stream, ready for the installation of the mill building
UPDATE - November 2017
The mill has now been constructed and a sluice gate added to control the flow of water to the wheel.
The stream has been in operation now for over twelve years and, as far as I can tell, has not sprung a leak, so it would seem that this system is fairly watertight (in both senses). A couple of times I suspected there was a leak but it turned out that the perforated lid of the dustbin through which the water returns to the sump get clogged with debris and so the water overflows rather than recycling. I now clean out the sump twice a year and find there is still very little water loss while running the pump.



 You can see I also chiselled into to blocks supporting the trackbed as I needed more width for the stream at this point.