Showing posts with label wagon. Show all posts

Saturday, June 05, 2021

Progress Report 91

According to the meteorologists, May was one of the wettest since records began - and it felt like one of the coldest. However, the weather turned completely during the last weekend of the month and I was able to have a full running session which gave an opportunity to test out a few of the projects I had been working on during the bad weather.


Infrastructure

 Fencing

Owing to the poor weather, I was unable to do much out in the garden. However, following a tip-off from a fellow GardenRails forumite, I bought a few lengths of Fairy Garden fencing from eBay.

I hadn't seen it before, but I was told it's been around for a few years now but it seems good value for a 90cm length of fencing in the right scale. The palings are thin wood (similar to coffee stirrers) and they are held together with twisted plastic coated wire. This means the fencing is very flexible in both the horizontal and vertical planes.


Level crossing

 The first application of the fencing has been alongside the level crossing on the approach to Peckforton station.

To fix the fencing in place, I added some copper wire stripped from 13A twin and earth electrical cable. This was forced in behind the twisted wire of the fencing at roughly six inch (15cm) intervals and secured with a couple of bends, leaving a tail of around an inch (2.5cm) pointing downwards.

The tail ends of the copper wire brackets were then inserted into plastic rawlplugs forced into holes in the concrete breeze blocks which form the trackbed.


 Permanent way

Remote point operation

A couple of hard to reach points (turnouts) at Beeston Market and Beeston Castle stations have had push-pull point rodding added, using galvanised fencing wire and screw eyelets.


In addition, the two points for the storage sidings in the lean to can now be operated remotely from the entrance to the sidings with twist point rodding. 

For more information see Operating points remotely using simple point rodding


Stock

Double diesel

The double ended diesel loco which I 3D printed has now had its dummy trailer loco motorised.

It already had a 3D printed chassis which was designed to accept a motor and worm gear set from IP Engineering and so it was a quick and easy conversion. Four wheel drive was also added with Delrin chain and sprockets. 

 Although the locos are powered with cheap three volt can motors, the loco is now quite powerful coping easily with a train of eight loaded hopper wagons and a brake van up the 1:40 gradients on the railway.

In addition, the locos have been given name and number plates, drawn in TinkerCAD, 3D printed and painted. 

The names, Dorothy and Diana, as well as being alliterative with Double Diesel, are taken from two of the daughters of Lord Tollemache, the supposed benefactor of the Peckforton Light Railway.


Schull & Skibbereen loco

 The motorisation of the 3D printed Schull and Skibbereen loco (see How I drew and 3D printed a Schull & Skibbereen loco) is still being worked on. The original Bachmann Lyn motor block proved to be under-powered and so I have been seeking ways of improving its mechanical efficiency.  Initially, the difficulty was finding smaller diameter worm gears which were compatible with the original worm wheels. I tried using different gear sets but they weren't sufficiently robust. I then discovered that the worm gears on Bachmann motor blocks are fairly interchangeable and so I am presently redesigning the motor block to make use of the worm gears from another Bachmann loco.

Getting the gears to mesh reliably and smoothly is proving to be very difficult inside a fully enclosed motor block housing. 

However, I will not be defeated!


Second SR coach

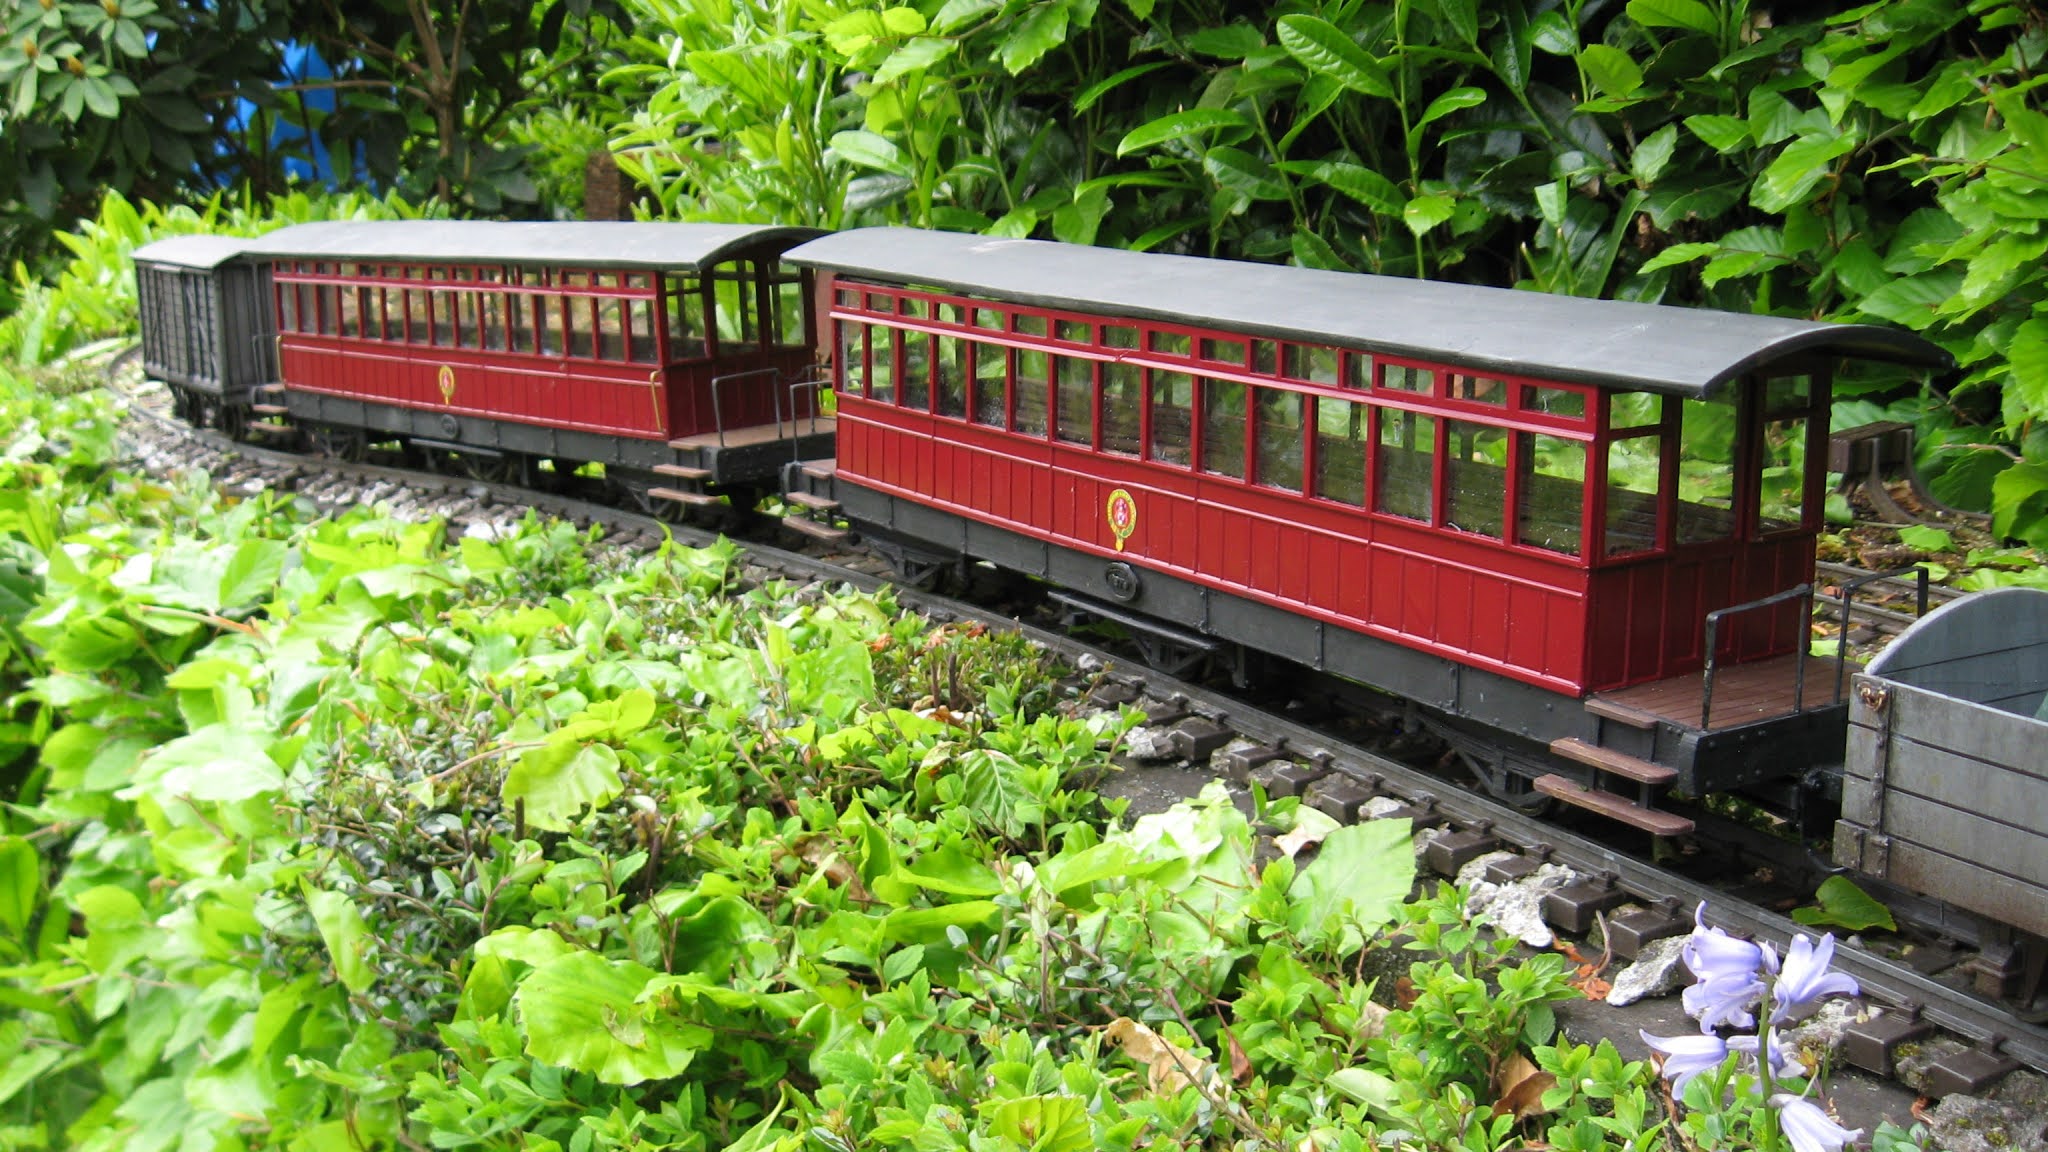
 After developing the design of the Southwold six wheeled coach, I have now constructed a second one.

I discovered during a test run, that the centre truck kept derailing. Closer examination revealed that the arms of the swivelling mechanism on the outer trucks were 4mm too short. Not sure how this happened when I redesigned the trucks, but it just emphasises how critical the dimensions need to be.


A third coach should hopefully finalise the design.


 Cleminson open weathered

The six wheeled Southwold open wagon has now been weathered

I have now used the wagon twice on operating sessions and, touch wood, it seems to be performing well. It did derail on one of the points at Bickerton Station, but hopefully this will not be a regular occurrence.


Operation

Running session

Although the weather has generally been bad through May, it improved markedly towards the end of the month and so I managed to organise a full running session.


Using the Psion

During the running session, I made good use of my Psion pocket computer to manage the freight handling (see How I programmed my Psion 3a pocket computer for freight management).

I am very pleased with how my revisions to the original program performed. At the start of the session, the location of some stock didn't match where it was supposed to be according to the program. This is because through May, I had been having ad hoc running sessions and testing locos and new rolling stock and so the wagons had become displaced.

I found that the easiest way to change a piece of stock's location in the database was firstly to reset all wagons to Beeston Market and then use the List and Move functions to relocate stock which had found its way to other stations. 

<<< Previous Progress Report              Next Progress Report >>>


Wednesday, March 18, 2020

How I cast a sheep load in plaster for a wagon

Having recently constructed an open topped cattle wagon from an IP Engineering kit and repainted a secondhand Tralee & Dingle open topped cattle wagon in PLR livery, I decided to give them both sheep loads. I bought six sheep from Motley Miniatures for £20 and six 3D printed sheep from DesignPrintScan3D for £21 and duly loaded them into the wagons, using the bristles from a yard broom as bedding straw. To me, they looked acceptable, however ........

..... someone more knowledgeable of these things than me, pointed-out that in reality, when sheep were loaded into wagons they were crammed in tightly to help ensure that none could fall over and get trampled on. So, I was faced with a problem. I worked-out that I would need at least 20 sheep per wagon to fill them - which would cost around £120 in total. Considering the wagons only cost around £50 for the pair, this seemed somewhat extravagant to my penny-pinching mentality. So, how could I fill them more cost effectively?

Wednesday, March 11, 2020

How I harnessed a horse to haul my coal cart

Having constructed a coal cart from a Hobbys kit (see How I constructed horse drawn coal cart), I was faced with the prospect of finding a horse of a suitable size and then figuring out how it should be harnessed.

Fortunately, not far from where I live in Cheshire is the Cotebrook Shire Horse Centre, which has a good selection of Schleich horse models in appropriate scales. I selected one which seemed appropriate - the Clydesdale gelding (Item No. 13808)

 As I didn't need the fancy ribbons, I trimmed them off with a craft knife, touched-up the cut areas with some acrylic paints and then sent for the guidance sheet provided by Hobbys for harnessing a heavy horse.

I then picked up an A4 sheet of faux leather from my local 'The Works' shop.

The sheet comes with a self adhesive backing which I could have used, but decided I would prefer to use UHU clear glue as I know from experience this is reliable. I therefore stuck some black Gaffa tape to the back of the faux leather. I then scrunched the leather to give it some texture.

I set this to one side while a cut two strips of leather approximately 10mm wide and stuck them back to back.

This was then wrapped around the horse's neck and trimmed to fit with a 20mm overlap. It was then glued to make a collar by stripping 10mm of leather off alternate halves of the ends and gluing them together.


A length of 2mm half-round brass rod was then wrapped around the collar and trimmed so leave around 7mm excess at each end.

Two pieces of brass shim 4mm wide were then trimmed to make hooks.

These were then soldered on opposite sides of the brass collar, together with two L shaped pieces of 1mm brass rod to form loops for the reins.


A brass hoop made from 1mm brass rod was soldered across the top of the collar.

The 'spikes' on the backs of the rein loops were then forces into holes on the leather collar and bent over to hold the brass collar in place

A 10mm wide strip of Gaffa-backed leather was wrapped around the belly of the horse and trimmed to fit with 10mm overlaps. A couple of rectangles of leather were then glued to the strap to form a saddle.

This was then glued to the horse using UHU clear glue.

4mm wide strips of Gaffa backed leather were then trimmed to make the breechings, using the rear of the horse to ensure they were the correct size.

Small brass washers were then attached to the back piece of the breechings ........

.... at the junctions with the cross pieces.

The breechings were then attached to the back of the horse.

Two 3mm wide strips of Gaffa backed leather were cut out, together with 7mm wide strip which was cut down to form the blinkers as shown. The position of the blinkers was determined by wrapping the strip behind the horse's ears and marking the position of the eyes.

The two strips were wrapped around the horse's head as shown - the noseband being the lower one and the brow band the upper. These were trimmed to length and glued into place.

The longer head strap with the blinkers attached was wrapped around the back of the horse's ears, glued into place and trimmed off either side of the horse's mouth. A 1.5mm hole was drilled from side to side of the horse's mouth and a piece of brass rod threaded through and trimmed off with around 2mm protruding each side, These ends were then bent through 90 degrees to represent the bit.


Two D shaped loops were bent from 1mm brass rod as shown.

A length of fine chain was connected using a twist of fine copper wire.

Two 1.5mm hole was drilled into the sides of the horse at the lower ends of the breeching straps and the loops inserted with a dab of UHU to hold them in place,

The chains were cut to length and then attached to a loop made from 1mm brass wire with another twist of fine copper wire.

At the same time, another length of chain was passed over the saddle and attached to the slider bars on either side, again using twists of copper wire.

Finally, trace chains were connected from the the lower loops (hames) on the collar to tug hooks positioned near the ends of the shafts.

After some consultation with members of the Garden Railway Forum who are more knowledgeable than me on such matters, I realised I needed to shorten the trace chains and the ridge strap (the chain passing over the saddle) to raise the shafts, otherwise there would have been too much slack in the harness.

The reins were made by sticking two strips of Gaffa tape together and then twisting them tightly.

Unfortunately, the twists make them very springy and so it's difficult to get them to droop realistically. I might try experimenting with wrapping the Gaffa tape around some of the thin copper wire to see if that enables me to give them a more appropriate shape.

The driver is a secondhand resin figure I picked up at the Llanfair Show. I have no idea as to its origin but it depicted a bald headed chap in overalls wiping his hands on a rag. I reduced the size of the rag and drilled a hole through it to pass the reins through. He was given a cap made from Milliput to cover his bald head and then repainted with a fair bit of additional coal stains on his overall, face and arms.

The loaded coal sacks are resin castings, again picked up at Llanfair, I believe from Trenarren Models, .......


.... and the empty sacks were made by folding over some tightly woven pieces of cloth and gluing them down with UHU

There are still a few jobs to finish off - the nameboards need some lettering, for example. Rather than using the transfers which came with the kit, I want to create some using the name of the coal merchant which emblazons the coal office at Beeston Castle Station. The name was taken from the 1911 census for the area. I have assumed that the son of the coal merchant will have taken over his father's business, twenty years later (and had a son of his own).

I will find a way of making some coal scales for the cart and maybe add a bucket and a feed bag to hang from the back of the cart for the horse refreshment purposes.

Other than that, I am quite pleased with the outcome. Isn't amazing how many different skills and chunks of knowledge we need to acquire as railway modellers? When I started building my garden railway, I had no idea that fifteen years later I would be researching how horses were harnessed and wooden horse drawn carts were constructed. Well, it certainly keeps me out of mischief!