 For a couple of years, I have had an LGB US style ToyTrain box car sitting on my shelves awaiting the impetus for it to be converted into something more appropriate for my UK based narrow gauge light railway. I had bought it on eBay and the previous owner had made an attempt to anglicise it by spraying it with red oxide primer - but its US origins were still readily apparent in the form of end ladders and a pent roof with duckboards and various moulded hatches.
As can be seen in the above photo, I had been using it as a test vehicle for the development of my replacements for LGB couplings (see How I make my own LGB style couplings). As it was now being deployed on the railway to test the efficacy of my coupling design, I felt it was about time it joined the fleet properly.
The first stage was to strip it down into its main components. This was easily achieved by removing the four self tapping screws which held the body to the underframe.

The couplings were removed from the underframe .........

..... and the roof unclipped from the body.

Now the wagon had been stripped down, the first job was to remove the unwanted mouldings from the body. This was achieved with the assistance of a razor saw and sandpaper block.


To compensate for some ever-enthusiasm with the razor-saw, Squadron White Putty was used to fill the various dints, scratches and scrapes on the bodywork.

This was then rubbed down with a sanding block and the gaps between the planking re-scribed.
Once all the mouldings had been removed, I worked on the exterior bracing. 5mm wide strips were cut from 1mm thick plasticard.

These were glued to the body with Deluxe Plastic Magic solvent, as normal plasticard solvents are resisted by the plastic used for LGB bodywork.

The various angles were achieved by placing the strips in place and marking. Any slight discrepancies were tidied up with white putty filler, smoothed down with a sanding block.


I then turned my attention to the roof. Rather than the pent roof of the original, I wanted a more UK-prototypical curved roof. End pieces, 105mm x 20mm were cut from 1mm thick plasticard. The curve was drawn using a dinner plate as a template. This was then carefully cut with a craft knife and smoothed-out with a sanding block.

These were then glued to the ends of the body. Two similar pieces were cut from 1.5mm thick plasticard and glued across the body either side of the door openings.


These were glued across the roof space ......

....... until the entire roof had been covered.

A sheet of 0.5mm plasticard was then glued on top.

I deliberately made this sheet 5mm larger in length and width so that, after the solvent had set, any excess could be trimmed off to make it a perfect fit.

I now turned my attention to the underframe. As I do not have continuous braking on my rolling stock, I needed to remove any semblance of it from the underframe.

The air tank was the first to go .......

...... being severed with the aid of my trusty razor-saw.
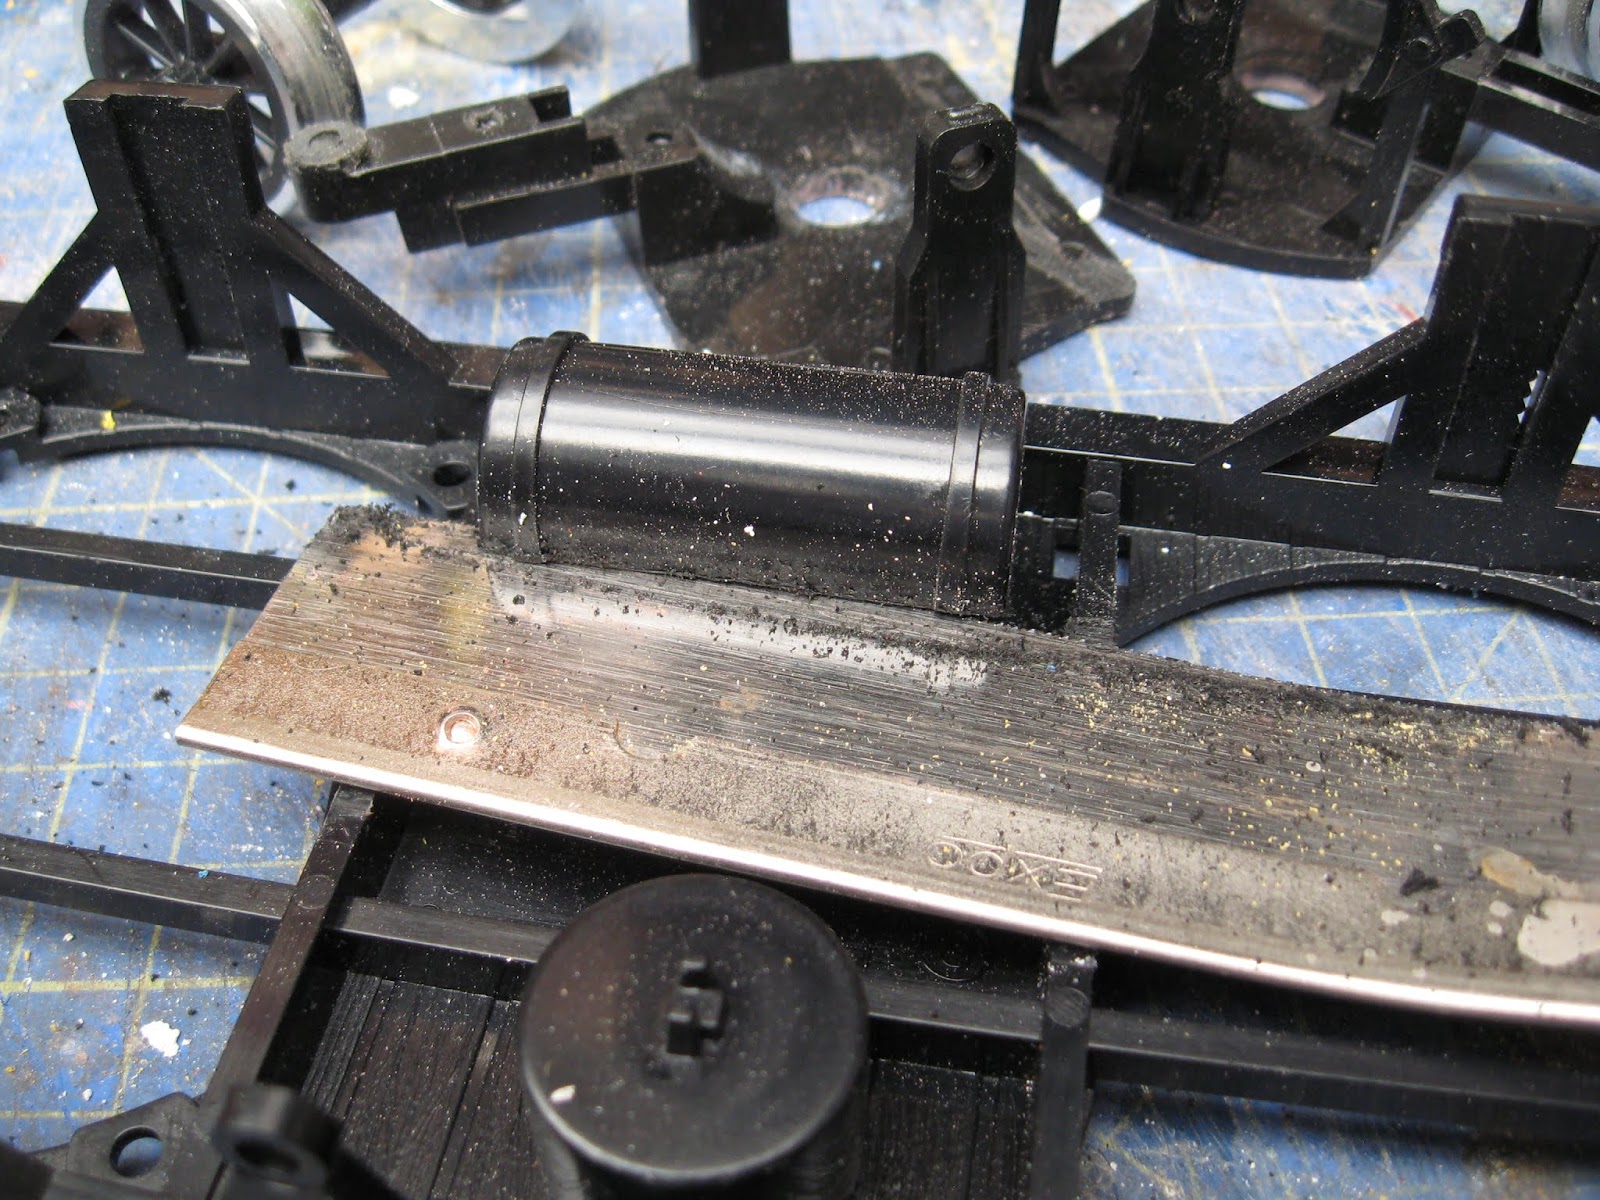

Next, the brake cylinder was excised in a similar way.

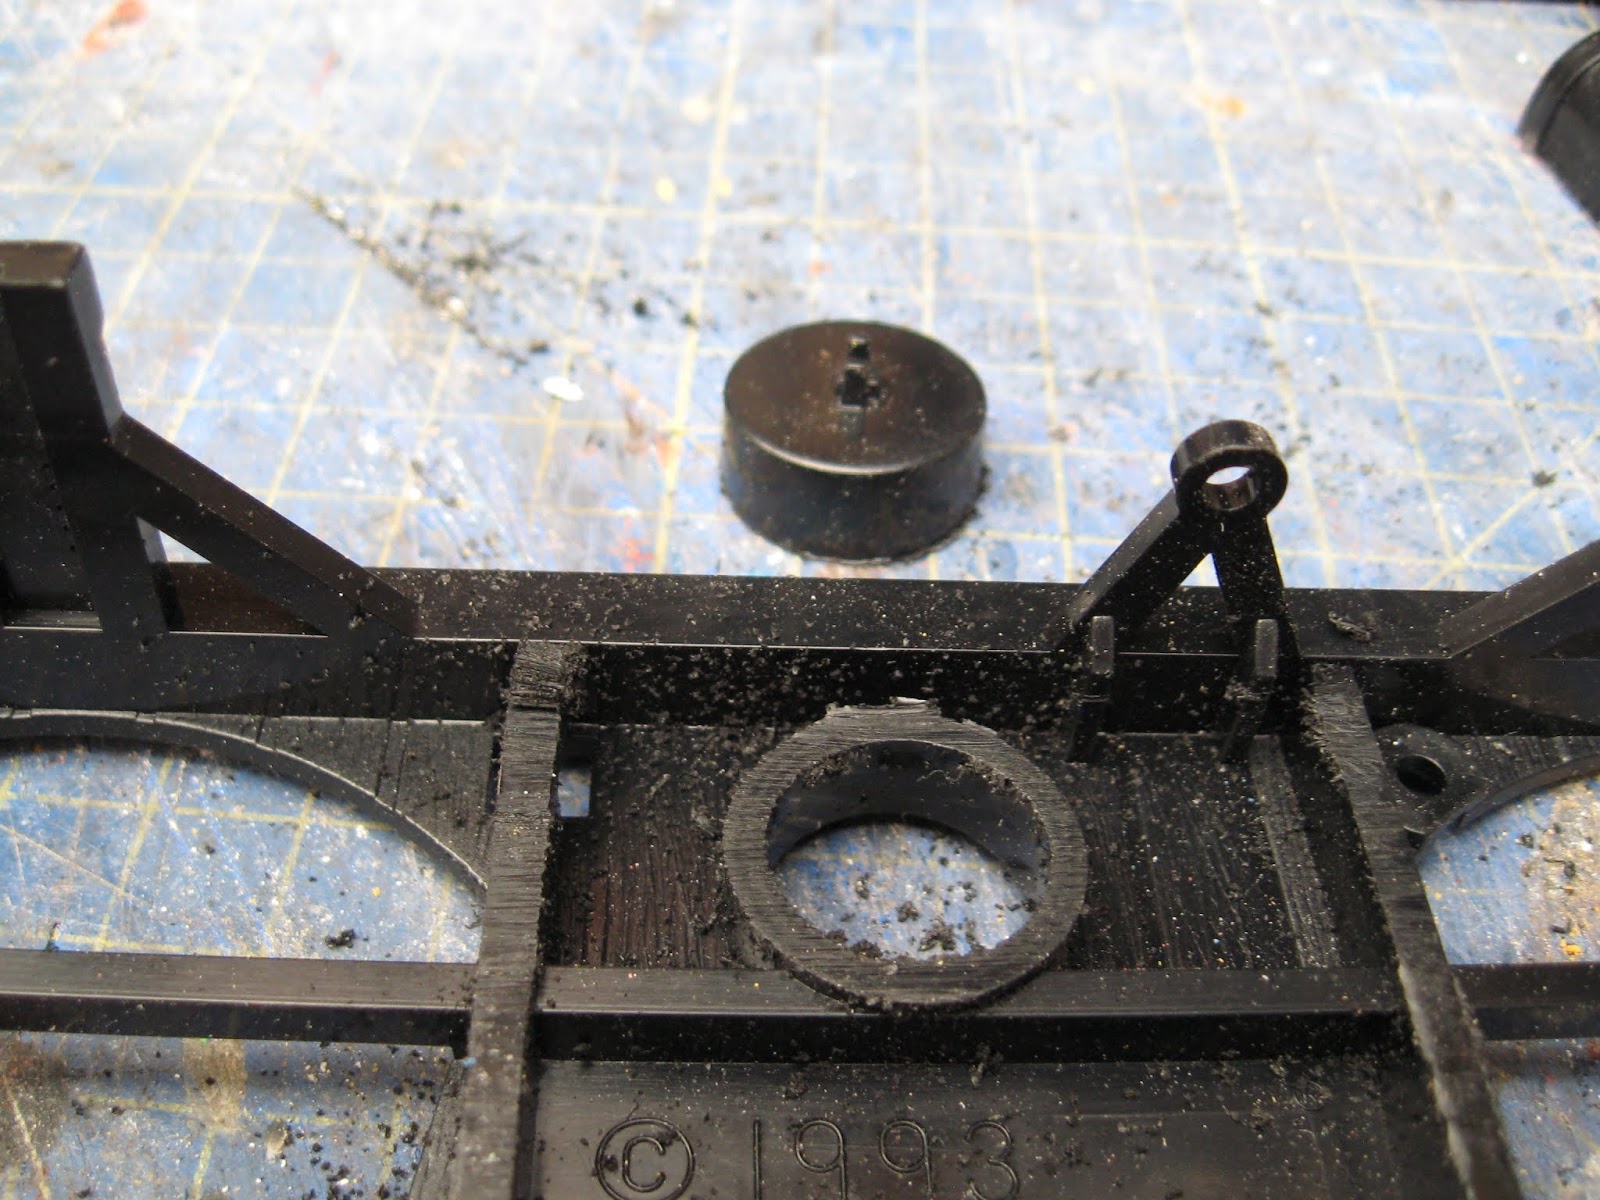
The brake shoes were then removed from all but one of the wheel brackets.

....... and then the underframe was reassembled.


The body was given a couple of coats of Halfords grey primer from a rattle can. Once this had hardened (after 24 hours), any remaining undulations in the bodywork were filled and rubbed down ......

....... before the body was given another couple of light coats of primer. Any metalwork on the body was painted black acrylic .........

..... and the roof was given a coat of black acrylic, to which a small amount of silver paint had been added, to dull it down and yet give it a muted sheen.

My replacement LGB hook and loop couplings were added (see How I make my own LGB replacement couplings), and so the van was ready to be pressed into service.

The van was then given a light weathering - applying mucky acrylics and wiping them off with a paper towel before they dried.

There is still a little more detailing to be done. I want to add a handle to the doors and also a brake lever to the underframe. I also want to add destination blackboards to each side and tidy up the buffer beams. However, she has now been used successfully for a couple of operating sessions and, although slightly lower than my other LGB van conversions (see How I converted an LGB ToyTrain baalcony car into a closed van), she actually looks appropriate in a train:

2 comments:
Great has usual Rik….you certainly have a nack for doing brilliant blogs and you have given me another idea….
Thanks Rik.
Pleased to hear it Rod. If just one person a year is encouraged to have a go at something I've shared, it feels worthwhile.
All the best
Rik
Post a Comment